25 Clever Ways to Use Autumn Leaves

Shannon Quinn - November 13, 2019
Share

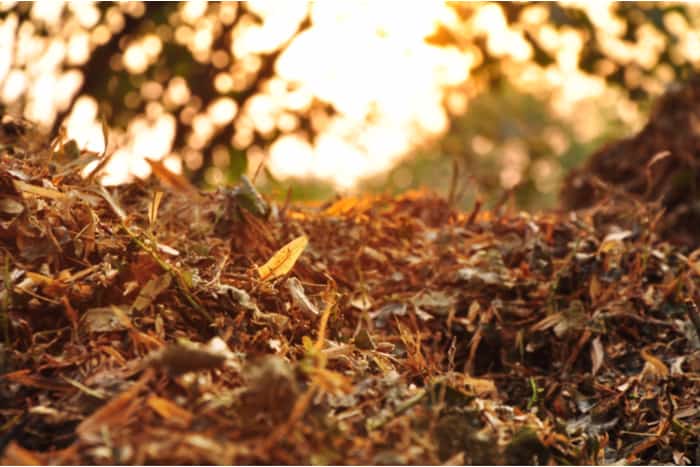
If you have a lot of trees on your property, you already know that leaves will fall all over your lawn. Many people see this as an annoying chore that they have to deal with each year. Some people even hire a landscaper to rake leaves for them. Once the raking is done, most people choose to throw them away in garbage bags. There are actually a lot of things you can do with those leaves. Don’t let those leaves go to waste! Sure, you can buy biodegradable leaf bags, but there are so many more solutions that are far better for the environment. Here are some things you can do with those beautiful, colorful leaves.

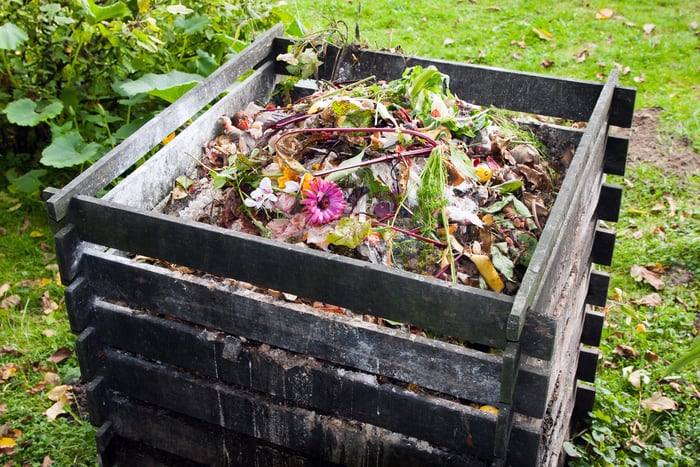
Compost bins can have food scraps and foliage. Credit: Shutterstock

25. Compost

If you are not already making a compost pile in your backyard, you just might want to start. Compost is made from scraps of food, egg shells, leaves, weeds, or anything else from your yard that needs to be thrown away. Toss in some soil and mix up the various biodegradable additions to the compost pile. Over time, these natural things will begin to break down. This compost will be full of nutrients that are great for your plants in the spring.
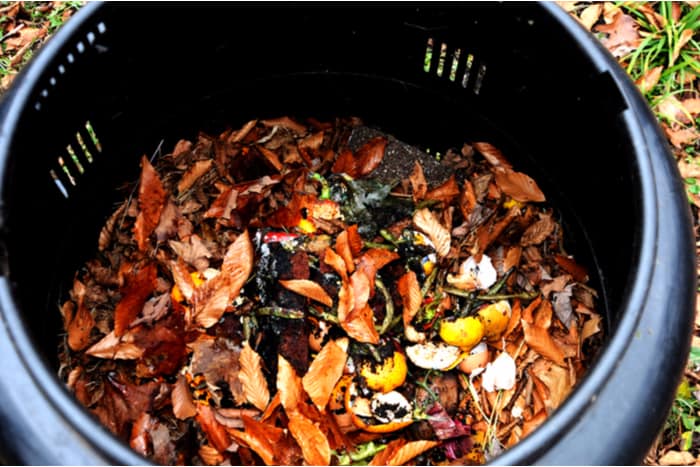
Plastic compost bins should be available at your local hardware store. Credit: Shutterstock

Getting in the habit of composting is great for a few reasons. This will help you save money and prevent you from buying fertilizer in the spring. It also gives you a place to put your food scraps. If you lock your compost bin, it will be safe from raccoons and any other animals that may be trying to crawl into your garbage cans at night. In the spring time, you can add green plants once you are weeding the garden. It feels great to know that you are reusing these things from your everyday life instead of contributing to garbage dumps that are already overflowing with waste.

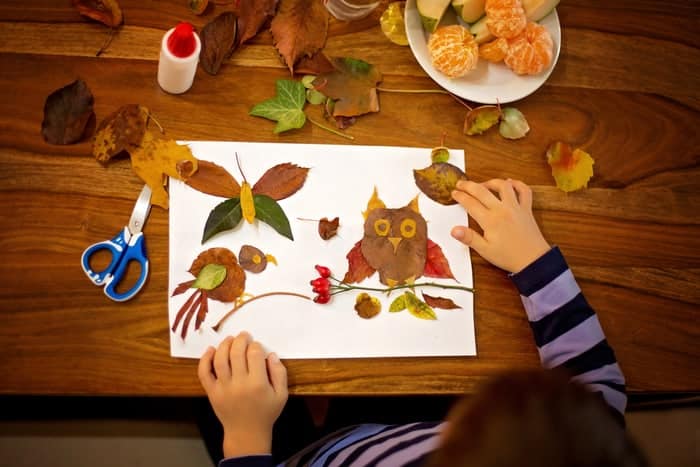
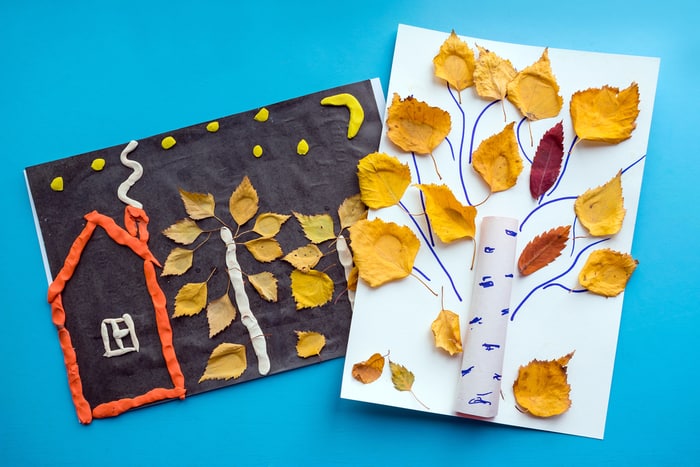
Your children can make artwork out of leaves and glue. Credit: Shutterstock

24. Make Leaf Art With Your Kids

Children absolutely love to use fall leaves with their artwork, and nearly every elementary school in the country has some variation of this. There are a lot of ways you can go about using autumn leaves for art. Take some leaves from your backyard, and make sure they are completely dry on a paper towel. Pour some paint onto a paper plate, and help your kids press the leaves into the paint first, then onto brown paper bags or thick paper. The leaf impressions will be left behind and your kids will be thrilled to see the patterns of the veins of the leaves.

There are so many amazing types of artwork that can be created with leaves. Credit: Shutterstock

They can also take some Elmer’s glue and paste the leaves onto a piece of construction paper. As you can see in the photos we provided, kids get truly creative turning these leaves into animals and all sorts of things. In the example above, they made 3D artwork by reusing paper towel rolls and play dough. The possibilities of leaf art are endless. Check out Pinterest for more ideas on how you can make this type of artwork. If you are an elementary school teacher, this is an amazing project to do on a small budget. Since leaves are free, this is a great thing to just go outside and pick up leaves instead of going to the craft store.

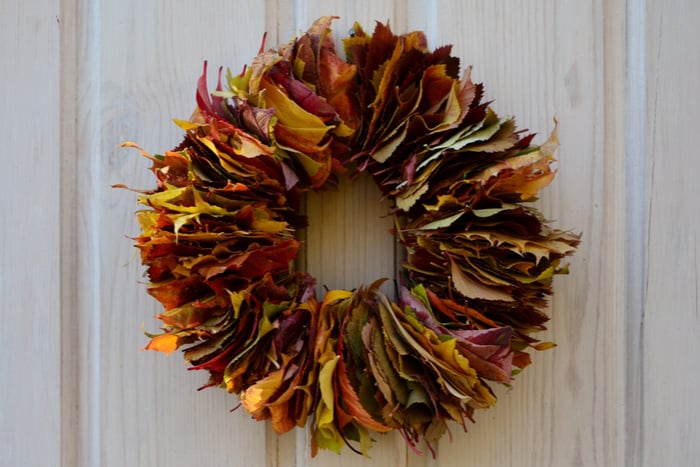
You can make luscious wreaths by jam-packing leaves. Credit: Shutterstock

23. Make a Wreath

Having a wreath for every season helps to make your home feel festive. The only trouble is that if you want to store a wreath for every season, you’re going to need a lot of attic or closet space. Keeping wreaths for every season can also be very expensive. On average, a large wreath costs between $30 and $50, and some luxurious brands even go for over $100. Lucky for you, it’s actually very easy to make your own wreath using leaves that you got for free in your own backyard.

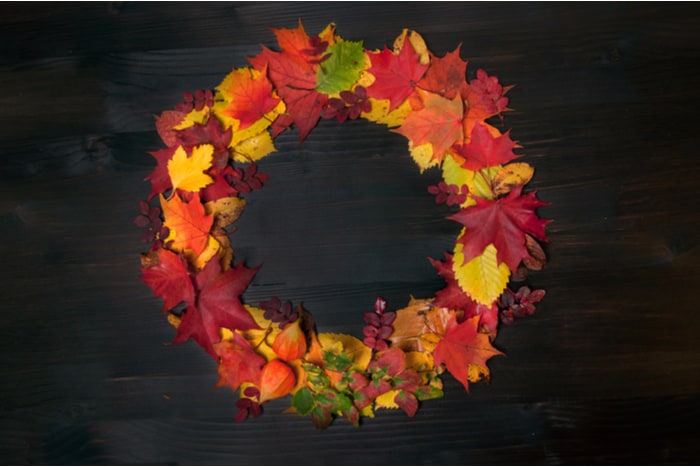
All you need is some wire and a bunch of leaves. You could also take a wreath mold and incorporate leaves and other natural foliage. Wreath molds can be found in the craft section of Dollar Tree for just $1 each. Another way to make a fall leaf is to display them flat. If you do not want to put this away in storage, you could make it from scratch every year. These are so cheap to make you might actually find yourself creating these autumn leaf wreaths for your friends and family. And if you want this wreath to last, it is possible to cover the leaves in wax so that they will be preserved for years to come.

Leaves can be broken down into mulch. Credit: Shutterstock

22. Create Mulch

Mulch is a great way to fertilize plants, and help them grow big and strong. At stores like Home Depot and Walmart, mulch costs $3 per bag. This may seem very cheap, but the cost eventually adds up if you are planning to use it throughout your entire garden. You may be able to find wood mulch for free in your local community. If you are not sure, contact your local municipal building. If you do not have access to the free community mulch, it’s possible to make your own with leaves from your own backyard.

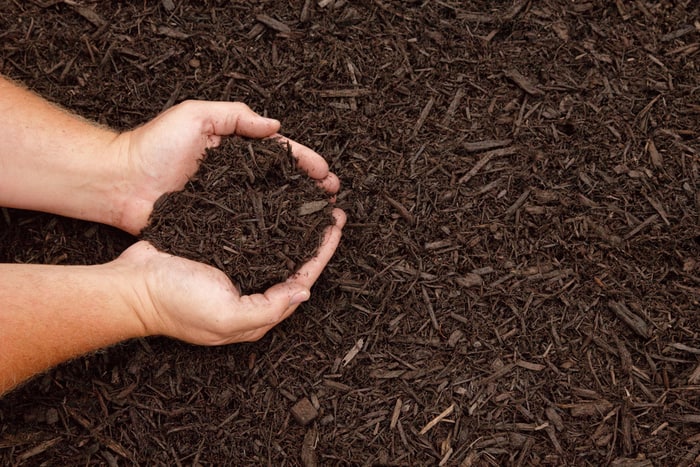
This dark mulch is made from wood chips that have broken down over time. Credit: Shutterstock

If you want to make leaf mulch, you will have to shred them first. This can be done either with a mulching lawn mower, or by dumping them into an electric mulcher. While this may seem expensive to buy machinery to help you make mulch, it may pay off in the long run. If you are planning to have your house for 10 to 30 years, it becomes so much easier to have a plan in place about how to get rid of leaves and produce your own mulch every year. You can use some of the mulch to help your grass in the fall, and potentially bag up and store the excess mulch for the spring.

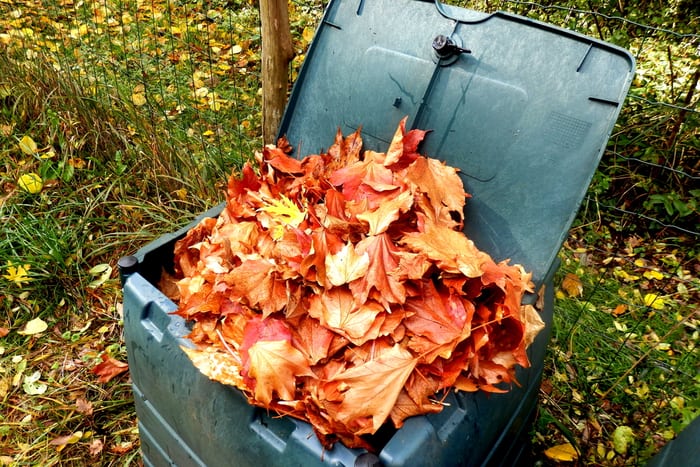
Leaves can be kept in a plastic compost bin over the winter months. Credit: Shutterstock

21. Store Leaves For the Spring

As we mentioned earlier, leaves have a lot of amazing nutrients in them, especially if you turn them into mulch. Even if you have a compost pile, you will most likely have an excess of leaves. This is why you may want to consider storing leaves for the spring. When the weather gets warm outside, you may find yourself dumping weeds into the compost pile. You need a mix of both brown and green elements in compost if you wanted to break down properly. So this is why it is a good idea to have these leaves on hand so that you can mix everything together out of season.

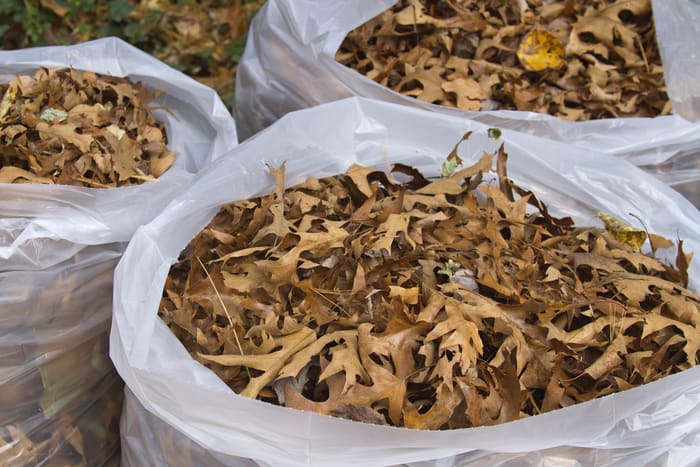
You can also keep leaves in plastic bags and save them for the spring. Credit: Shutterstock

As we mentioned earlier, these leaves can also be used as mulch. Eventually, these bags of leaves will begin to break down and turn into a sort of fertilizer. Some people swear by making leaf mold, so it will actually be okay if this happens over the course of the winter. However, having mold in your home, even if it’s in the garage, can be unhealthy. If you want to prevent mold from growing, you want to make sure that these leaves are in airtight plastic packages that are kept away from moisture. Once you are in the midst of making compost, you will be happy to have them on hand.

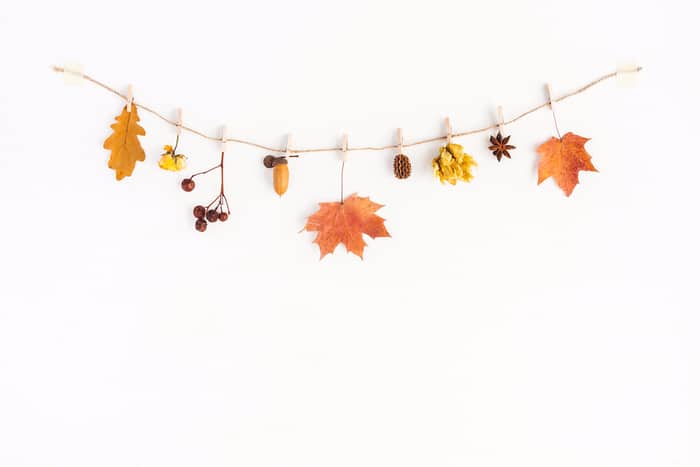
Leaf garland can be simple as a string with a few natural items. Credit: Shutterstock

20. Leaf Garland

During the holidays, people love to use strings of garland to decorate their doorways and staircases. Even though we usually associate garland with green and red colors of Christmas, it can still be amazing to have an autumn colored garland on your staircase. But of course, if you buy artificial foliage, this means storing more decorations in your attic than you may have space for. You may want to consider using seasonal foliage that can eventually be put in your compost pile so that it naturally decomposes.

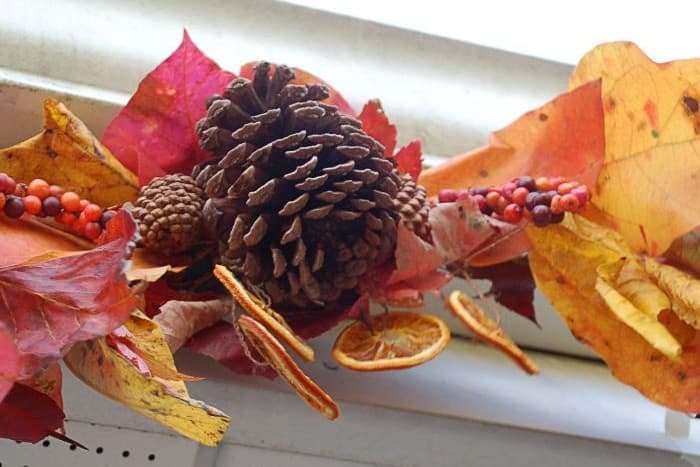
Autumn garland can be jam packed with beautiful foliage. Credit: HGTV

It is actually very cheap and easy to make your own leaf garland with a long wire, or even a simple string. For an added sense of fun you can also incorporate pine cones, acorns, and anything else that you find in your backyard that may look amazing with the garland. You can also add in some homemade items like slices of dried oranges, cinnamon, and cloves. This will smell amazing, and your guests can get a whiff of autumn every time they climb the stairs or walk through your doorway. If you would like to see a more in-depth tutorial on how to do this, check out this blog post from HGTV.

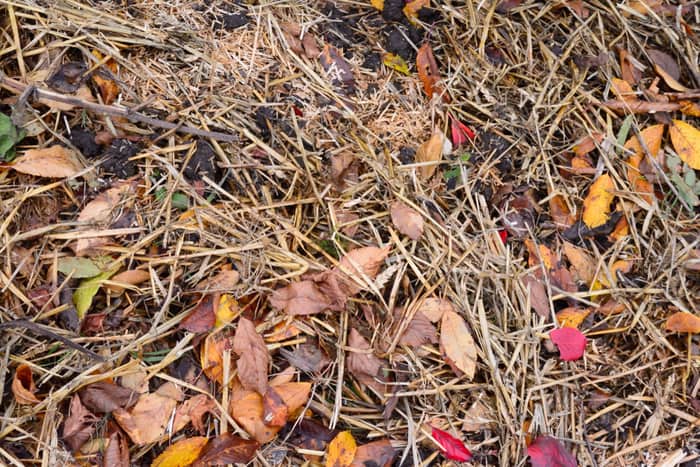
Leaves and hay can be used to insulate plants. Credit: Shutterstock

19. Use to Insulate Plants

In the fall, it begins to get cold at night, and temperatures can drop below freezing by October. You may even start to notice frost covering your grass early in the morning. If you want to protect some of the potted plants outside, you may want to consider picking up piles of leaves and stuffing them inside of the pots in order to insulate your plants. This also works for plants that are in the ground, and they need some added protection. Vegetable gardens are especially susceptible to damage in the cooler months, and many serious gardeners will actually insulate the ground with sheets of plastic if they do not have leaves on hand.

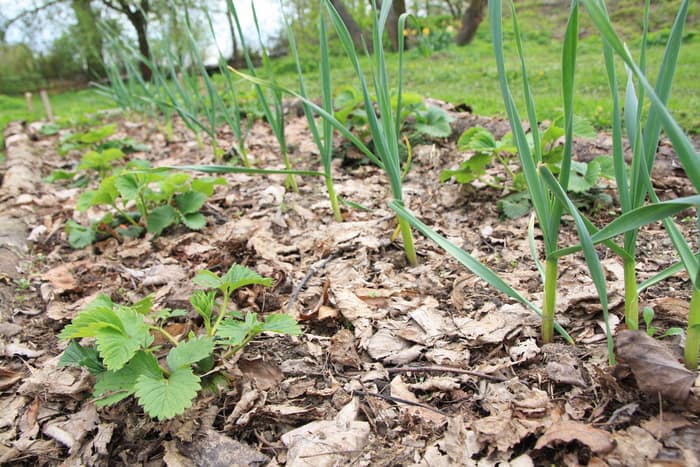
Leaves can protect plants from frost in the morning. Credit: Shutterstock

By allowing leaves to surround your plants, it will help keep the roots warm and protect them from frostbite. If you can bring your potted plants indoors, this is actually the best option. However, if you must keep them outside having added insulation will protect them a bit longer so that you can enjoy those plants into the autumn months. When it comes time to harvest some of your vegetables like pumpkins, you will be grateful that they had some help staying alive until they were ripe for picking.
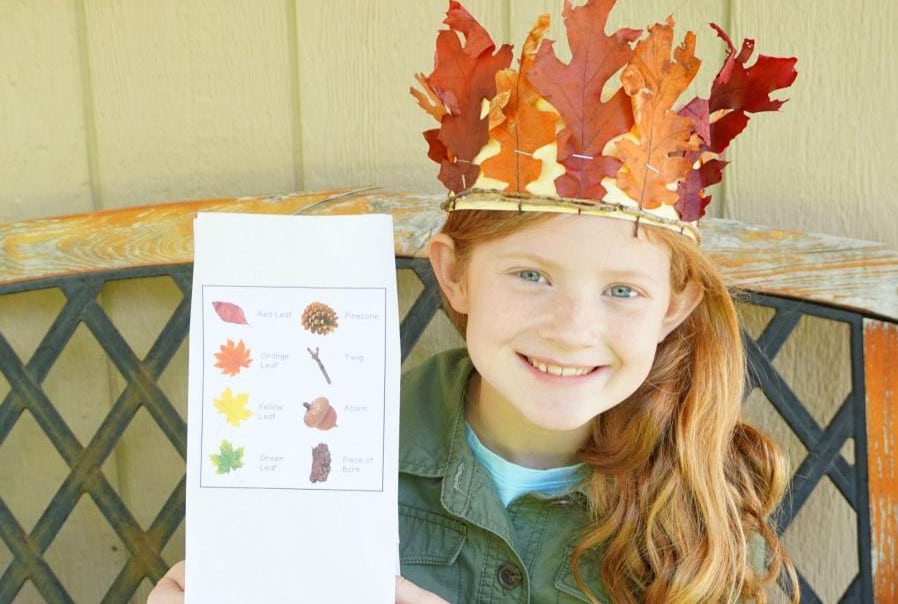
Fallen leaves can help give nutrients to dirt. Credit: Shutterstock

18. Soil Amendments

So far in this list we have given you a lot of options of how you can pick up leaves to reuse them. And most of the them, people recommend shredding leaves if you want to turn it into mulch. But in some cases, you may actually want to keep them on the ground and let them decompose naturally. Leaves are great for soil amendments. This is essentially allowing the leaves to decompose on top of dirt in order to give it more nutrients.

If your yard does not have grass, you may as well let the leaves decompose. Credit: Shutterstock
For example, imagine that your yard that does not have grass, and you know that you want to sprinkle seeds in spring. You may want to keep the leaves sitting on top of that dirt, because it will be far more nutrient rich once you are ready to sprinkle the grass seed. However, if you have a lawn already growing on your property, you do not want to let the leaves sit on top of the grass. They will block the oxygen and sunlight, and eventually kill the grass underneath.
Dried leaves can be preserved just like flowers. Credit: Shutterstock

17. Dry and Preserve

Sometimes, you might pick up a leaf off the ground that looks exceptionally beautiful. As children, we are especially fascinated by these gorgeous gifts from nature. If you truly love this leaf, you could always dry and preserve it for years to come. You may have already heard of dried flowers, and the concept of preserving leaves is very similar. This is actually a perfect activity to do with your kids, especially since it can most likely be done for free with supplies you already have at home.

Your kids will probably loves preserving their favorite leaves. Credit: Shutterstock

In order to preserve leaves, buy a roll of wax paper. Press the leaves in-between the paper, and keep it inside of a hardcover book. You can also use silica gel or glycerin to keep them preserved to look exactly as they did the day you picked them off the ground. Once the leaves are dry and preserved, you may eventually want to use them for a decoupage project in the future, or with many of the crafts we have on this list. For more step-by-step instructions on how to preserve leaves, check out The Spruce.

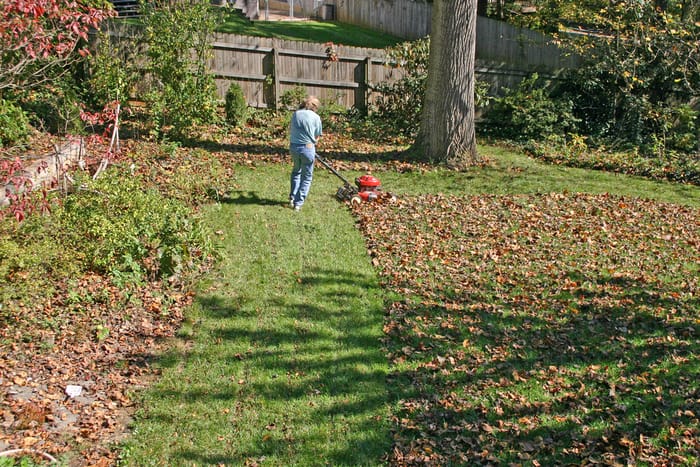
Instead of raking your leaves, consider mowing them. Credit: Shutterstock

16. Mow the Leaves

If you already have grass in your backyard, you may want to consider simply mowing the leaves. This is one of the easier solutions to maintaining your backyard. When you go over leaves with a lawn mower, it chops them up into tiny pieces. These pieces eventually get pushed down into the ground. They act like fertilizer for the grass and it will actually grow back healthier in spring. If you have a riding mower, this would be a much easier job compared to raking leaves, as well. It also kills two birds with one stone to make sure your grass is cut, but the leaves are gone, too.

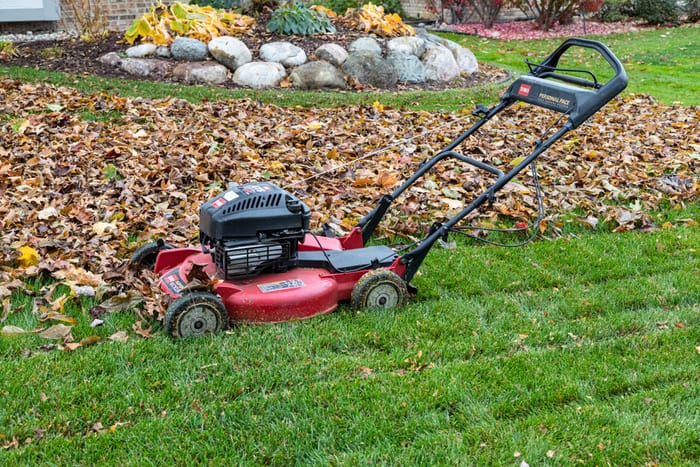
If you have a lawn mower, you may want to mulch leaves. Credit: Shutterstock

Before you mow leaves, make sure you have a mulching lawn mower. Nowadays, most mowers have a mulch setting, but always make sure you do your research before you get started. You should also look for stray branches or anything else that may be hiding under the leaves. Large objects can get caught in the blades of your lawn mower. The last thing you want is for your lawn mower to break because you could not see what was on the ground underneath the leaves.

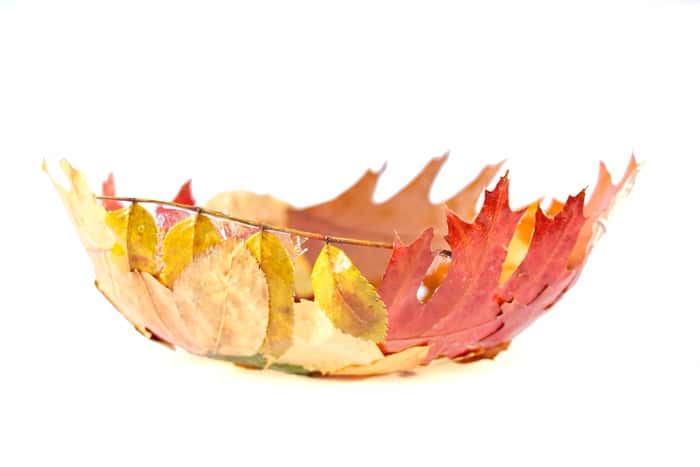
This leaf bowl was created with real leaves and mod podge. Credit: Shutterstock

15. DIY Leaf Bowl

Creating a bowl out of leaves might be one of the last things you would ever imagine doing. But this can actually be a very fun crafts to make with your kids. Depending on how you make it, it may just end up being a temporary decoration. This can potentially go on display in your home and it would get thrown away before the season is over so that you do not have to store it. Or, if you use artificial leaves, coat your real leave in wax first, or make sure the leaf is fully preserved. This way, you can actually keep it from your after year. Hallmark went over the steps on how to make a leaf bowl that you can actually keep.

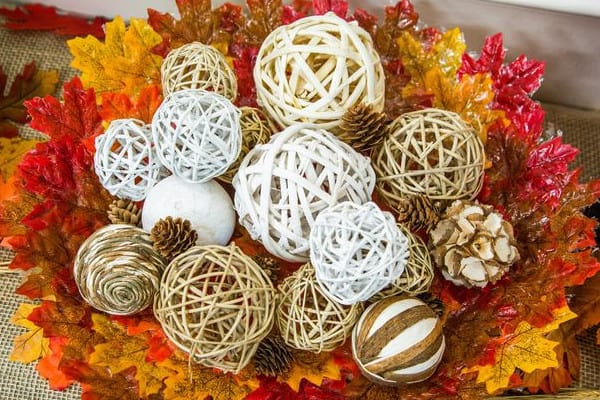
This leaf bowl was made from artificial leaves. Credit: Hallmark

First, they cover the bowl with plastic wrap. Then they take mod podge onto a leave, and then press it into the bowl. The process gets repeated over and over with overlapping leaves. after a while, you can cover the entire interior of the bowl with leaves and Mod Podge. Always press down with your paint brush to make sure the bowl is not too wet with excess glue. Four hours later, the leaves should be completely dry. Remove the plastic wrap carefully from the bowl, and the leaves will have dried in the shape of a bowl. This bowl is obviously not going to be strong enough to hold food, but it can still hold some pine cones and decorative balls, like you see in the photo above. For a more in-depth tutorial that is complete with a video, check out Hallmark’s website.

If you have a wax melt warmer, this will be perfect for waxing leaves. Credit: Creative Home Making

14. Make Wax Dipped Leaves

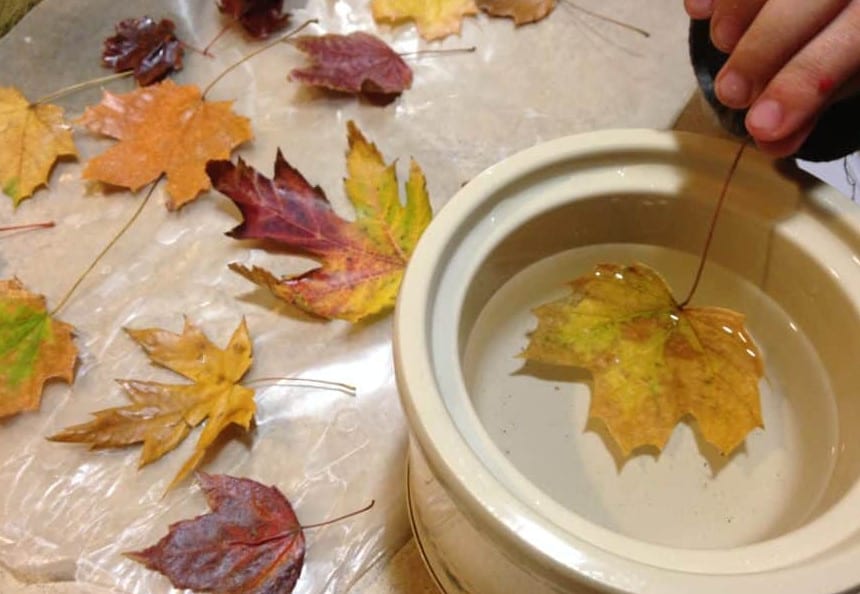
If you want your leaves to last forever, you need to seal them in wax. In order to make waxed leaves, you need to start by melting beeswax. This can be done over your stove top with a double boiler. Or, if you have a wax melt warmer, you may want to use that instead. Make sure you remove any existing wax melt in the container before you get started. Once the bee’s wax is hot and liquefied, it should be completely clear. Hold the leaves by the stem, and gently dunk them into the wax one at a time. Allow the wax to drip off of the leaf, and shake it a bit to get the access drops off, if necessary.

Allow the leaves to dry on wax paper. Credit: Creative Home Making

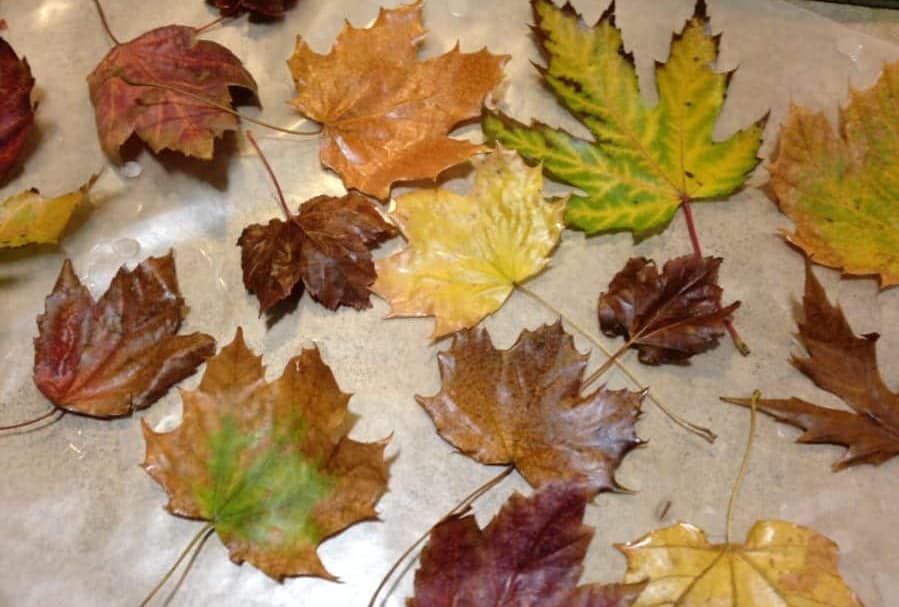
Next, take a clothespin and hang the stem of the leaf from a string so that they dry. If you have nowhere to hang them, you can also lay them flat on a sheet of wax paper. One they are dried, these leaves are essentially sealed inside of the wax,and will not decompose. On the Martha Stewart blog, they take these leaves and tie them to strings of microfilament so that they can descend from the ceiling, as if they are in the midst of falling from a tree. Once these leaves are waxed, you can use them for crafts, and they should be preserved for years. You may want to consider using waxed leaves for many of the DIY projects we mentioned on this list.

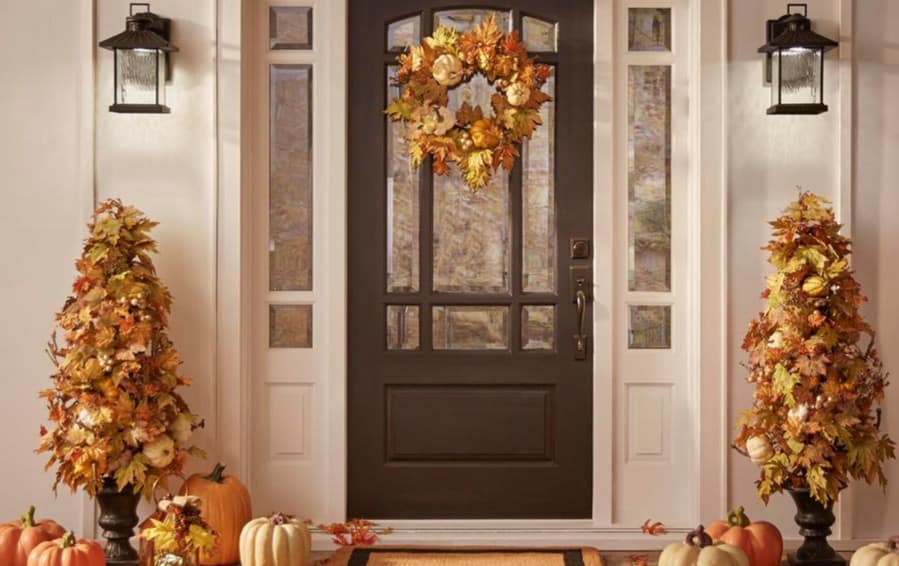
These beautiful leaf trees are availalbe at Home Depot. Credit: Home Depot

13. Leaf Trees

During the holiday season, you may already have two small Christmas trees that flank either side of your front door. These look very classy and beautiful in the winter time. But very few people think to do the same thing in the autumn. Stores like Walmart and Home Depot sell these small autumn trees that you can purchase in the fall. The only problem, of course, is that they are expensive, and it is just one more thing to put into storage. Alternatively, you could choose to make your own small autumn leaf trees. One way to go about doing this is to take your existing small Christmas trees, and cover them will fall leaves and pumpkins to the point where they are totally covered.

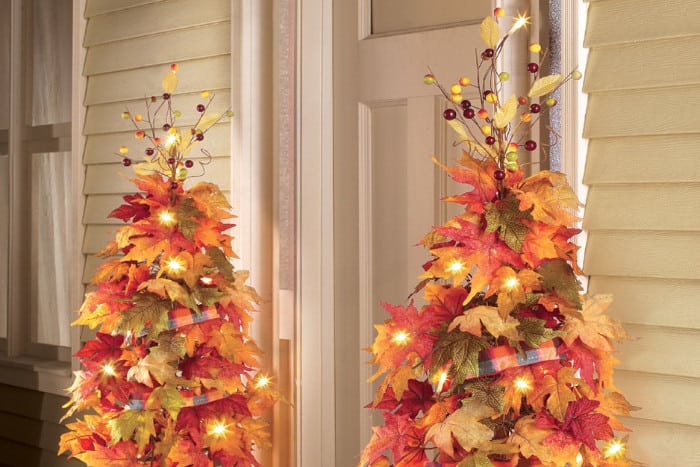
These leaf trees have string lights, and can be found at Walmart. Credit: Walmart

There are some people that have repurposed metal wire from tomato cages in order to make their own Autumn trees. Check out this Pinterest post to see the example of how someone took their own homemade autumn leaf garland and wrapped it around the tomato cage in order to make a beautiful DIY tree. Some people even add a string of white lights to give it a little bit of a sparkle. once the fall is over, it would be easy to dismantle the trees and allow the natural foliage to decompose in the compost bin. It is very possible that you might already have all of the materials that you need to make this project already in your home.

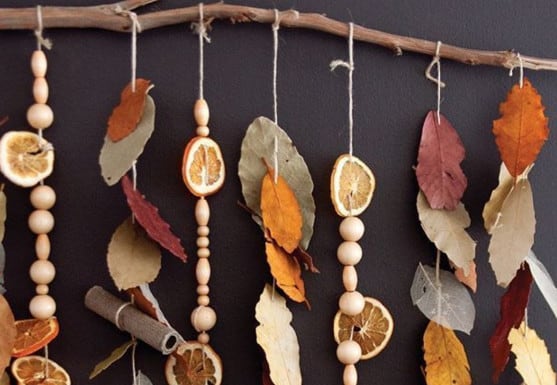
This wall hanging is made of leaves, oranges, cinammon sticks, and beads. Credit: Pinterest

12. Create a Natural Chandelier or Mobile

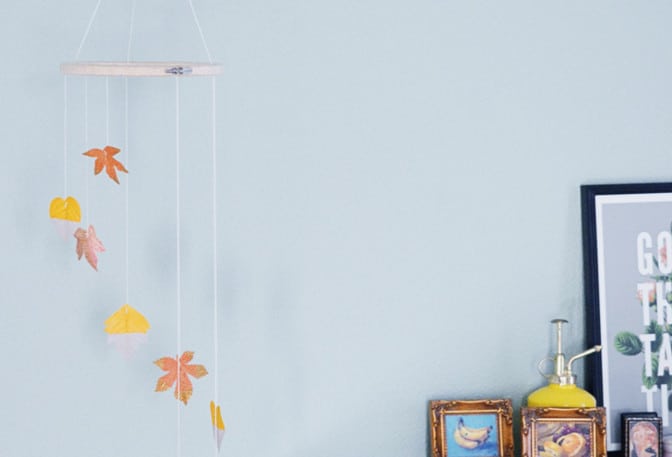
When you think of colorful autumn leaves, you might already be imagining them falling from the trees. So by having a decor item where the leaves are falling captures the essence of what autumn is really like. Mobiles are very easy and fun to make, and they can be a great craft to do together with kids. All you need is a and some clear string to tie your leaves to. As you can see in the photograph, this mobile was created with varied length of string. This way the leaves look as if they are gradually going down and slant. If you only intend to keep this up for the current season, you can hang leaves straight from your backyard.

This simple mobile is made from leaves. Credit: Mary Makes Good

You can also make a home made “chandelier” or wall hanging with leaves. All you you really need to do is take a stick and tie strings filled with leaves, dried oranges, beads, and cinnamon sticks. Once it is done, it looks like something out of a magazine. This can replace a painting on a wall, or you can add a nail or tack to a wall so that it hangs in place. As an added bonus, these can smell amazing, and will help you and your guests have fond memories of fall as soon as the sniff the area near your chandelier. If you want to keep these items for next year, we recommend waxing the leaves first, which was mentioned in a previous entry.

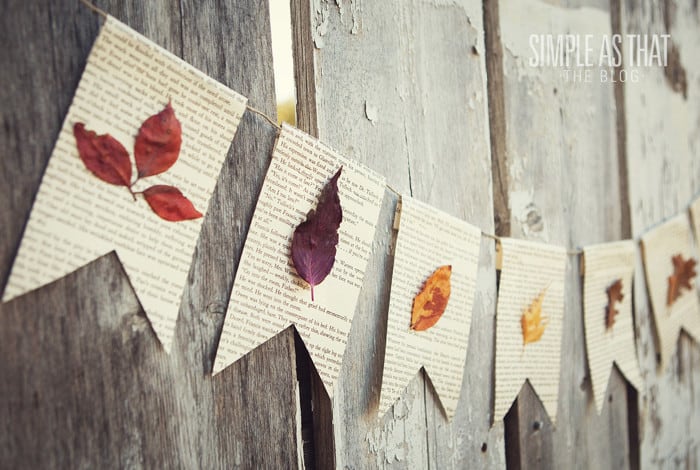
This garland was made from pages of an antique book, and pressed leaves. Credit: Simple as That

11. Fall Party Garland

You don’t always need to have a luscious garland full of leaves in order to make a statement. Sometimes it is actually much better to have garland made out of paper and string. You can choose to make it out of construction paper, or up-cycle pages from an old book. As you can see in the photos above, this person took out old pages of a book and turned it into pointed flags. Then they use Mod Podge to paste some beautiful leaves into the center of the page.

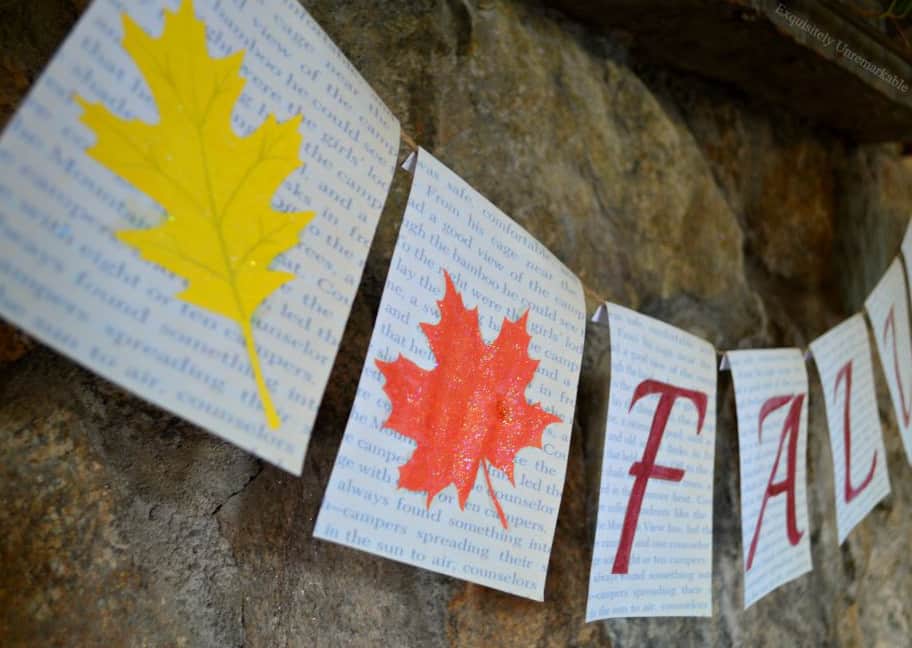
This garland can have letters added to it as well. Credit: Exquisitely Unremarkable

Others have taken the same concept only bee sting individual letters onto each of the flags. This would be perfect for a birthday party that takes place in the fall. It may also work for a wedding or any other special occasion that would warrant a message for a loved one. The great thing about this project is that you can easily keep this garland in storage, since it does not take up a lot of space.

Leaves can be blinged out, too. Credit: Shutterstock

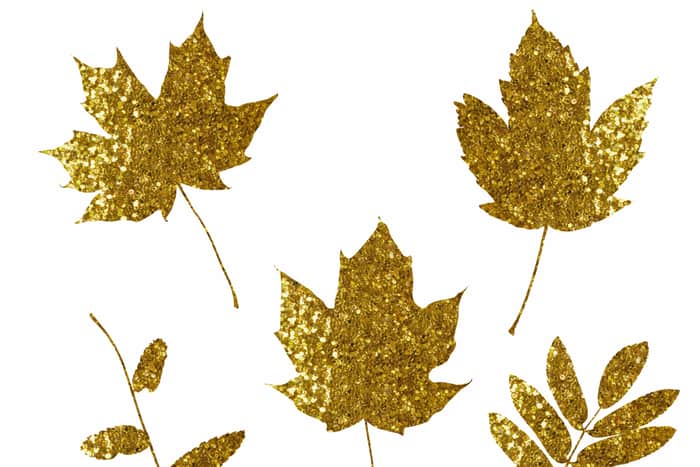
10. Add Glitter and Dip in Gold

Everything is better with glitter! It is actually very easy to bring a little bit of bling to your autumn leaves at home. Just pick a few of your favorites from your backyard. Paint the leaves with Mod Podge or Elmer’s glue, and sprinkle them with a generous amount of glitter. Make sure that you’re covering your tables with newspaper so that when the project is done you can simply pick it up and dump it into the trash.

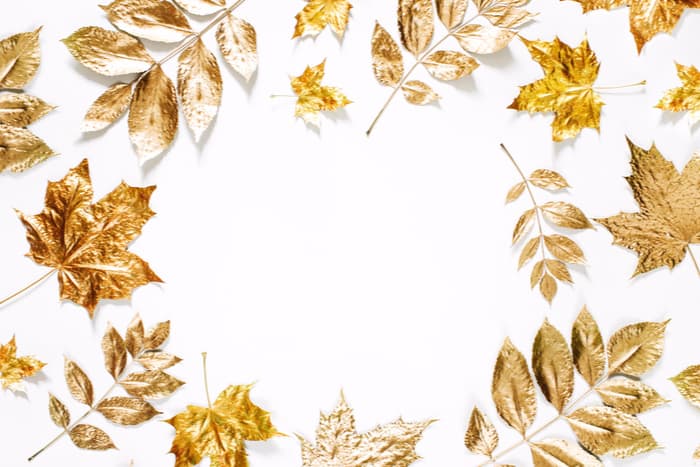
Gold spray paint makes a huge difference to how leaves look. Credit: Shutterstock

Another option is to spray paint your leaves with gold. This can be done with gold spray paint that is found at Walmart for roughly $2 per can. Always make sure to do this outside, and lay newspapers down before you start the project. Otherwise, your sidewalk or driveway may be covered in gold paint! Once this is done, it looks like a luxurious decoration for next to nothing. You can also use the golden glitter and paint to spray pumpkins gourds and other fall foliage.

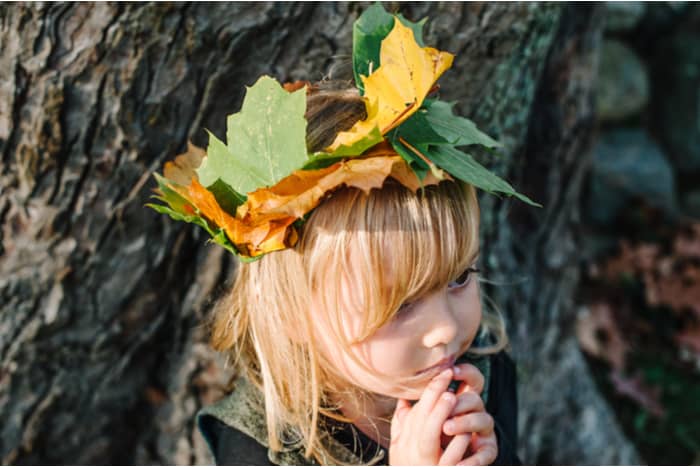
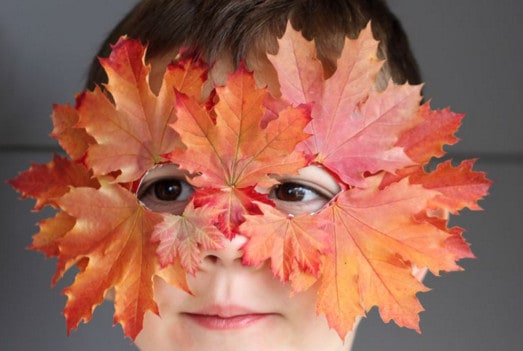
Kids will look beautiful with a tiara of leaves. Credit: Shutterstock

9. Leaf Crowns

In the autumn, temperatures begin to cool down, and it becomes much easier to spend a lot of time outside. Instead of sweating and nearly having heat stroke, you can enjoy the great outdoors for hours at a time. If you have kids, you are most likely encouraging them to get outside and use their imagination. You can help to make your kids feel like a prince or princess by making them a crown out of leaves. It’s also a great craft project if you save the leaves to make inside on a rainy day.

You can make a luscious leaf tiara crown for adults, too. Credit: Shutterstock

These leaf crowns can be made in a few ways. Some people like to take a long rectangular piece of felt with strings attached to each end. Then, you can paste leaves on to it like a headband. This should be easy for your children to make by themselves. Others like to take wire to string leaves around it so that it looks like a tiara. (This would look beautiful in photographs.) Other people choose to help their kids make a construction paper crown and add leaves to it. The possibilities are endless, and you may even begin to think of your own method. However you decide to make the crown, your kids will have a good time.

Autumn is a great time to have an outdoor photoshoot. Credit: Shutterstock

8. Use Them in a Photoshoot

If you love to take pictures of your kids (who doesn’t?) then you may want to consider using leaves for a fall photo shoot. Kids will love to play in piles of leaves and throw them in the air. If you capture a beautiful moment like this, you could always frame it and save it for a lifetime. This can be a perfect “back to school” photo, or you can incorporate their Halloween costume into the mix. Just make sure to check your kids for ticks afterwards, because those critters love to hide in the fall foliage.

Kids will love to throw leaves for a picture. Credit: Shutterstock

You can also use leaves in an adult photo shoot as well. If you are engaged or planning a fall wedding, it would be gorgeous to stand in front of the changing colors of autumn. Even profile pictures for Facebook, Instagram, or dating apps look a lot nicer if you are standing in front of some autumn leaves. (Bonus points if you are wearing a cute sweater and standing by a lake.)

Your kids will look adorable wearing a leaf hat. Credit: Shutterstock

7. Leaf Hats

We already mentioned in the previous entry that you can make leaf crowns. Making hats out of leaves is a very similar process. The only difference is that the hat will be covering your entire head rather than sitting on you like a crown or tiara. If you want to make a leaf hat, this can be done in a few ways. One is to get a piece of construction paper and turn it into a cone. Then you and your child can take the leaves with Elmer’s glue and cover the entire cone with leaves.

For older kids, they might enjoy making their own leaf hats. Credit: Shutterstock

This can also be done with a beanie. You can sew leaves into the beanie so that they are layered on top of one another. Once this is done, the leaves look huge on your head. Yes, it may seem silly, and it’s not exactly something you would want to wear in public. But these photographs featuring leaf hats actually look amazing. It can also be a clever Halloween costume idea if you want to dress up your child as a pile of leaves.

Kids would love wearing leaf masks. Credit: Small Friendly

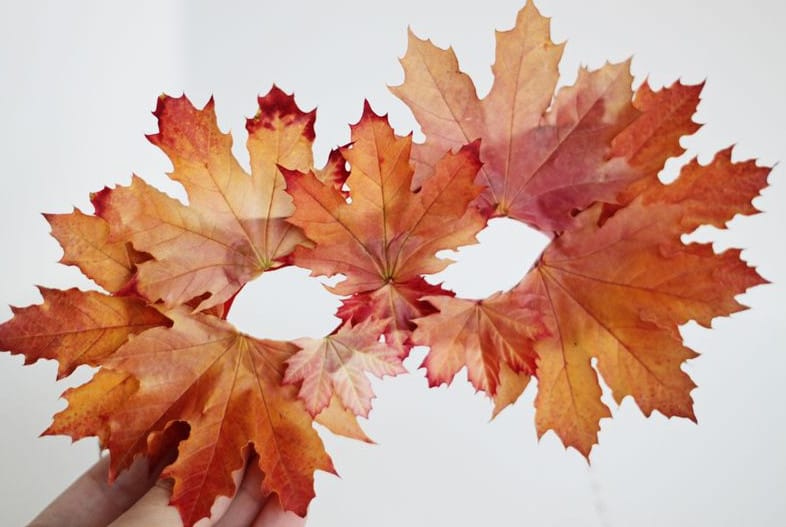
6. Leaf Mask

In the fall, you and your kids are probably thinking about Halloween. Nearly every television station plays spooky movies, and we are constantly reminded of the holidays being just around the corner. The kids are probably pulling out costumes from storage, and most likely pretending to be their favorite superheroes. This is why it is such a great time of year to take those leaves and turn it into a masquerade style mask. Making this can be done with items from the dollar store, or you can use some felt and string at home to make your own mask.

Leaf masks are beautiful, and easy to make. Credit: Small Friendly

Use Mod Podge to place the leaves on top of the mask, and coat it with some extra to ensure that it stays in place. Allow it to dry for several hours before you let anyone wear it on their face. Of course, this doesn’t just have to be for kids. You can also make an adult size mask for yourself. This may be a cheap and affordable costume option, or an amazing surprise to show up with at a masquerade ball.

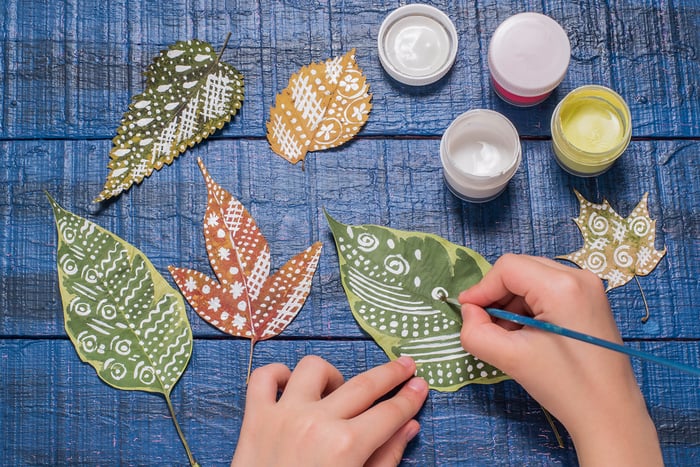
You can use gouche or acrylic paint to make these leaves. Credit: Shutterstock

5. Painted Leaves

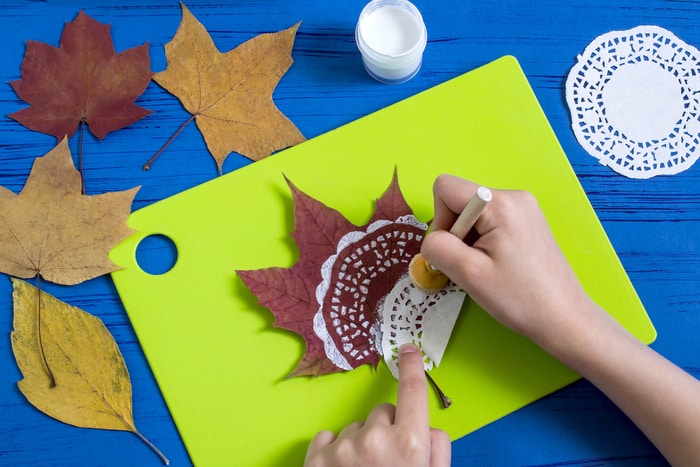
An easy DIY project is to take some leaves from your back yard, and paint or draw designs on them. This can be done using white paint and a very thin paint brush. It can also be done with white chalkboard paint markers from the dollar store. Another great idea is to take a doily and dab white paint over top of it so that it is left with a pattern underneath. Once the leaves are made, you should let the paint dry for several hours.

By using a doily and paint, it leaves a beautiful pattern. Credit: Shutterstock

Both kids and adults can have fun with this, and the end result is absolutely beautiful. After they have dried, you can choose what to do with them next. Maybe you want to glue them onto garland, a piece of paper, or have them hanging from a mobile. The options are endless, and we have gone over several ideas on this list.

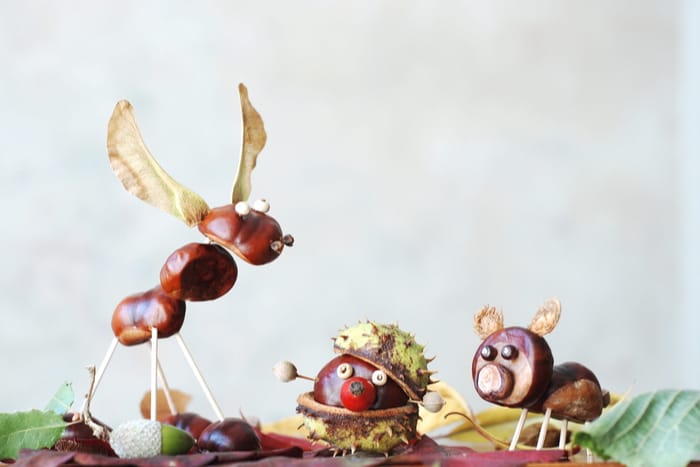
These little critters were made with acrons, leaves, and more. Credit: Shutterstock

4. Create Adorable Forest Creatures

For years, people made toys out of the natural objects that they could find outside. Dolls were made from carving wood, corn husk, and so much more. You and your kids can take items from outside and turn them into little toys of their own. In the photo above, you can see an example of how someone used tooth picks to push berries, acorns, and leaves together to make cute little animals.

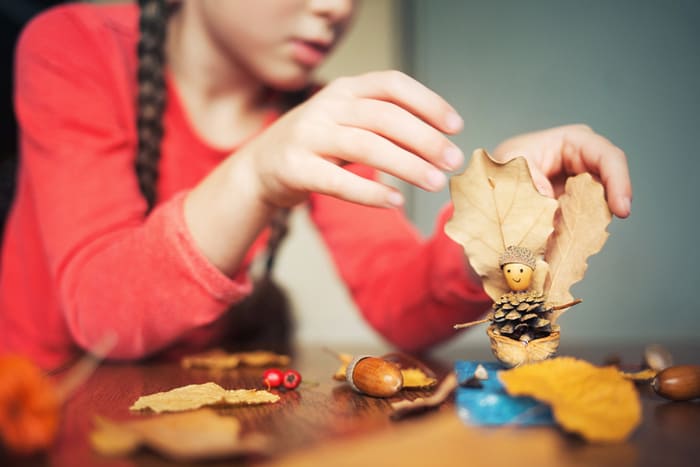
This angel doll was made out of natural foliage. Credit: Shutterstock

You can also make a cute little angel or fairy doll by using leaves as the wings. The options are truly endless. You may be surprised to see what your kids think to make if you put these objects in front of them, and ask them to create something. It sparks their creativity and imagination, and it can become a cute decorating throughout the fall.

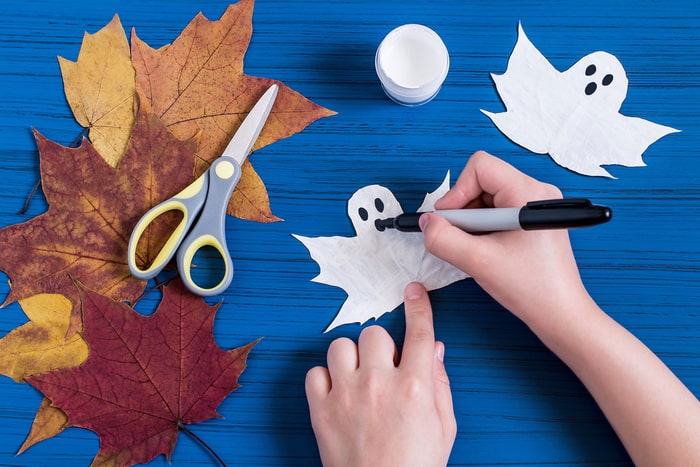
These adorable ghost decorations are easy to make. Credit: Shutterstock

3. Turn Leaves into Spooky Ghosts

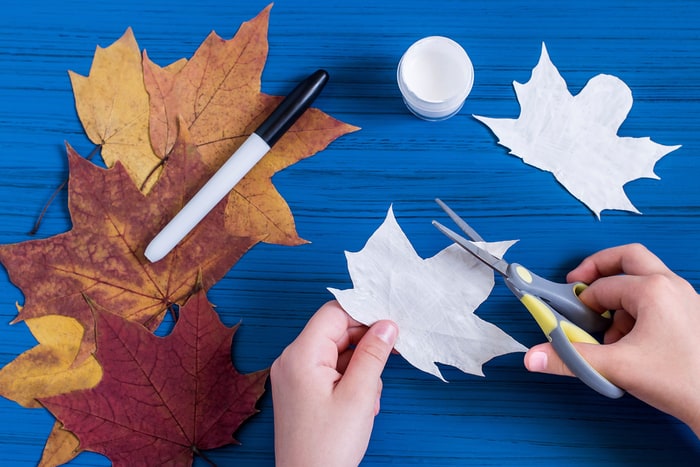
Leaves begin to change right around Halloween, so it only makes sense to turn them into spooky decor. This would be perfect for a classroom full of kids too, since the materials for making the craft is very cheap, and possibly free if you already have the supplies on-hand. You can gather leaves and spray them with white paint, or let your kids paint them by hand. Allow the leaves to dry for several hours.

You will want to cut off the top of the leaf to make the ghost’s head. Credit: Shutterstock

Next, cut the top off of the leaf so that it is curved. All you need to do is take a sharpie and draw on eyes and a mouth. Once these ghosts are done, you can choose to glue them to a card, construction paper, or even hang them from strings so that the ghosts are flying around your house.

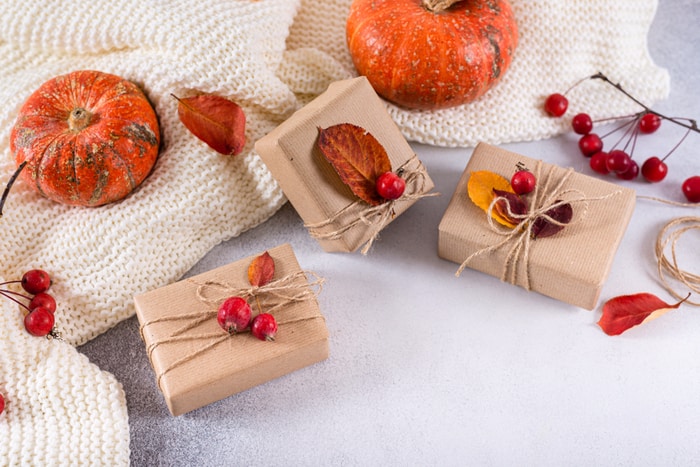
These gifts are wrapped with brown paper and leaves. Credit: Shutterstock

2. Using Leaves as Gift Toppers

Around Christmas time, it is all too common for people to use holly or other greenery as present toppers. This looks gorgeous, of course, but few people ever thing to do this in the autumn. If you are going to a birthday party in the fall, it can be a great idea to use leaves to decorate the top of a present, too. In fact, these leaves are so gorgeous and colorful, it would look so much better than a standard plastic bow.

This orange paper and string look beautiful with leaves. Credit: Shutterstock

As an added bonus, you can make your gifts look like something out of a magazine for free, or only spending a dollar or two. Some of the best options are to use brown paper bags with tule. Or, you can find solid color paper in orange, yellow, or red from Dollar Tree.

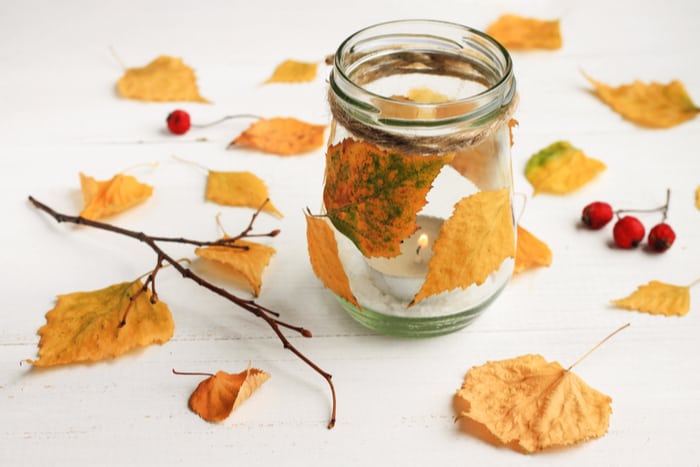
This candle jar is made with a few leaves and a tea light. Credit: Shutterstock

1. DIY Candle Jar

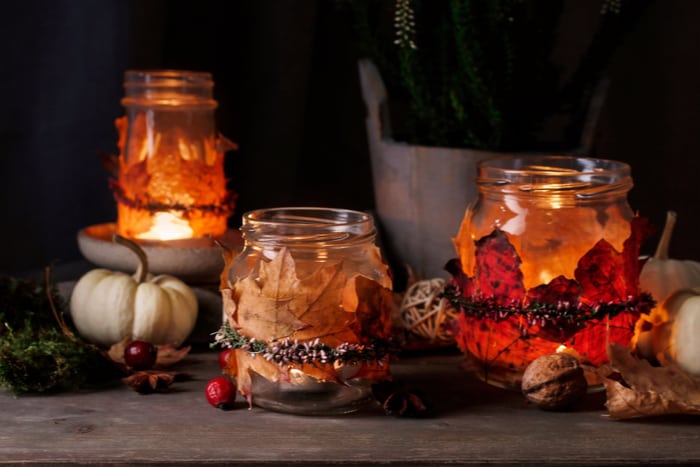
In the autumn, you can find expensive fall jars from places like Bath and Body Works. However, these can be very costly, and go up to $20 to $30 for just one candle. You can make your own DIY candle jars just by getting a simple glass mason jar, and attach leaves with mod podge. Then, you can add a simple tea light, or find affordable scented candles at Dollar Tree.

You can choose to add ribbon or any extra pieces to these leaf jars. Credit: Shutterstock

Once the candle is lit, the leaves will glow orange in the dark. Since these are so cheap to make, it would be easy to make several of these to put around your house so that you have the all ambiance in every room.

Advertisement