40+ Sewing Hacks That Will Change Your Life

Ashley - March 11, 2023
Share

Sewing is a valuable skill, but not many people know how to work with different fabrics, threads, and needles. Whether you’re self-taught or practicing a skill that’s been passed down in your family for generations, learning new tricks to make your sewing work easier will help enhance your already coveted skillset. Don’t worry about struggling with tangled threads or uneven stitching because we have tips, tricks, and hacks to make every aspect of sewing a breeze. We’ll walk you through the basics of keeping your tools in tip-top shape and explain some secrets of the trade that will make your work significantly easier and more productive. Get ready to take some notes because we’re going to dive right in!

Use Muslin Cloths for Slippery Fabrics
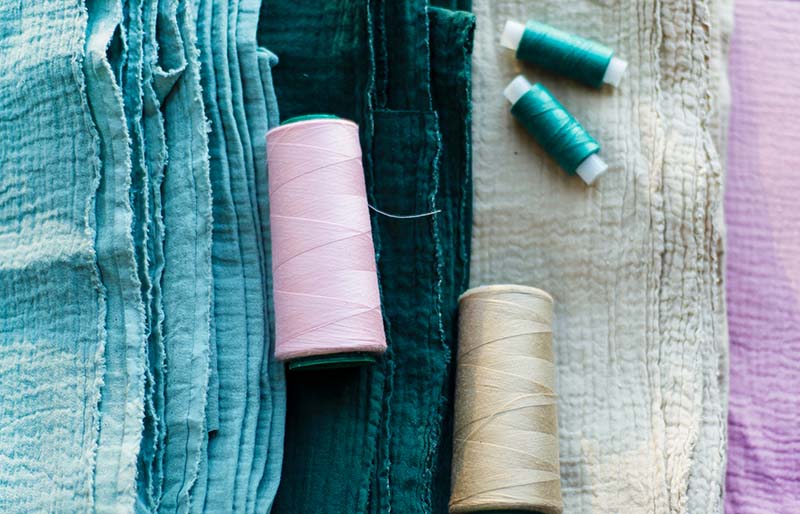
Photo Credit: sewing.com

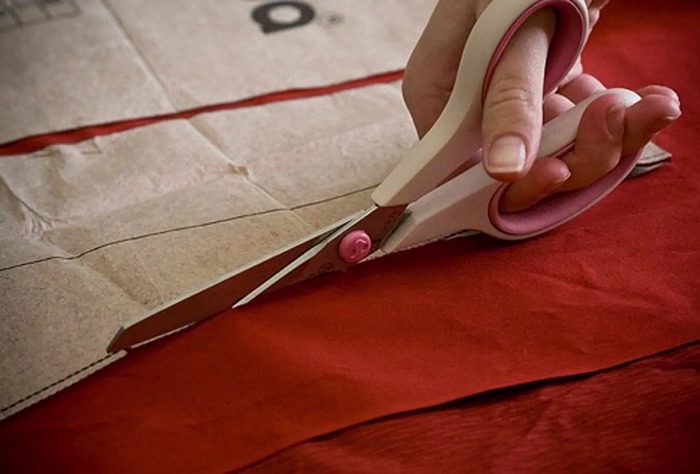
Working with slippery fabrics is one of the most difficult tasks for people working on a sewing project. It’s difficult to make a straight cut when there’s no friction between your scissors and the fabric. An excellent solution is to place a muslin cloth beneath your fabric. Pin the fabrics together to make sure there’s no margin for error, and then cut out your design. This will make it so much easier to cut your slippery fabrics without all the stress.

Keep Your Scissors Sharp

Photo Credit: sewing.com

This may seem less of a tip and more of a common sense reminder, but it’s very important! Scissors are one of your most valuable tools for sewing projects. Dull scissors can cause your fabric to fray and tear, which can send you right back to square one. The best way to keep your scissors sharp is by keeping a single pair with your sewing materials and using it only for fabrics. Using your fabric-cutting scissors on paper or anything else will cause them to be dull, which will cause issues for you down the road. Another good tip for keeping scissors sharp is to clean them often. Make sure to wipe them down after using them, and always dry them immediately if they get wet.

Clean Your Sewing Machine With Pipe Cleaners

Photo Credit: jukiclub.com

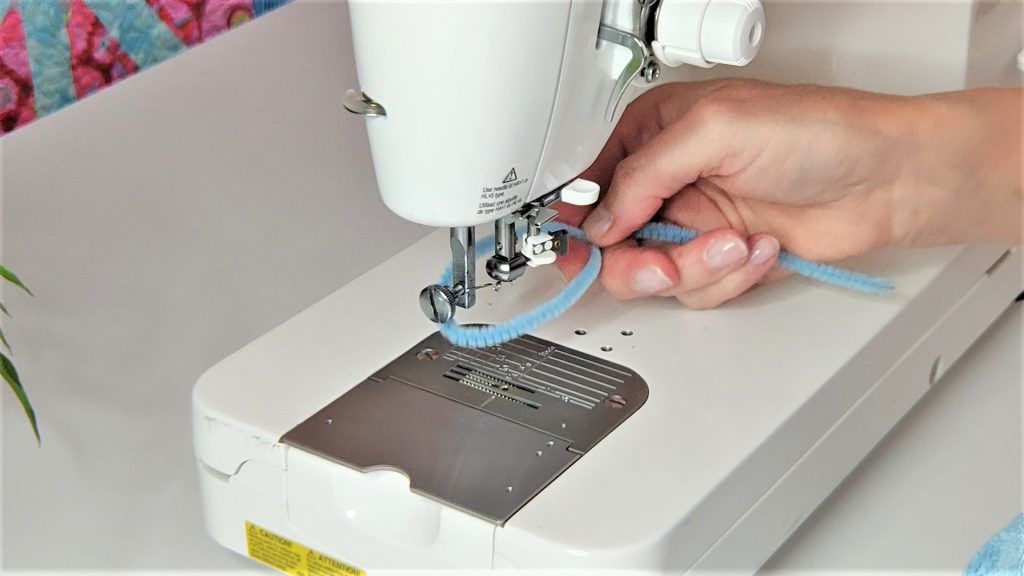
Your sewing machine is a vital component of any sewing project, so keeping it clean is a necessity. There are lots of hard-to-reach places that people struggle to clean on their sewing machines, and this hack will save you a ton of stress when it’s cleaning time. You can use a pipe cleaner to get into all the nooks and crannies of your machine with little effort. Pipe cleaners work well to meticulously clean the bobbin case and remove any lint. You’ll never have to worry about a build-up of fuzz in your machine again!

Sew Perfect Corners Every Time

Photo Credit: sewing.com

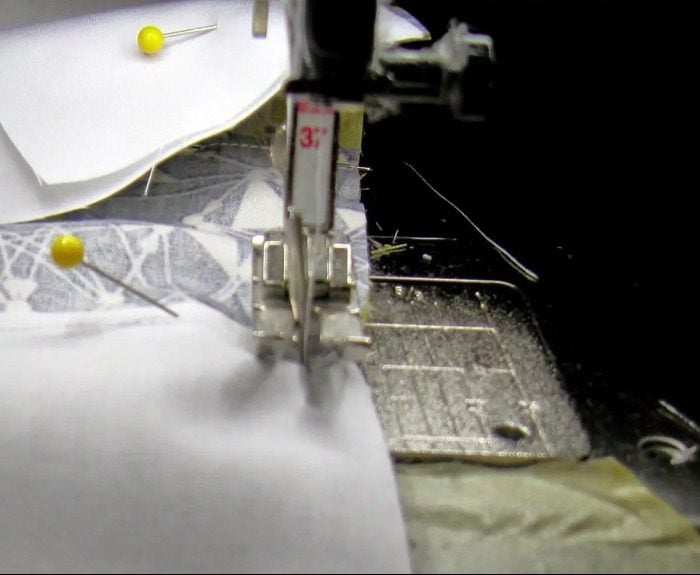
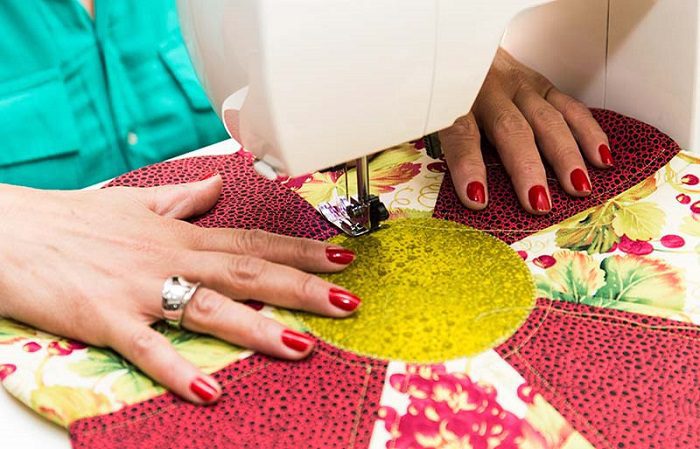
Sewing perfect corners is a skill that eludes many hobbyists. Corners can be difficult to master, especially if you’re trying to learn how to sew by watching how-to videos on YouTube. But, there’s a trick to sewing corners that will make your life significantly easier. All you need to do is leave the needle down and rotate your fabric at a clean 90-degree angle. It will take some practice for you to get comfortable with smoothly moving your fabric at the right angle, but once you get this trick down, you’ll be a pro at sewing perfect corners!

DIY Fabric Weights

Photo Credit: thepetitesewist.com

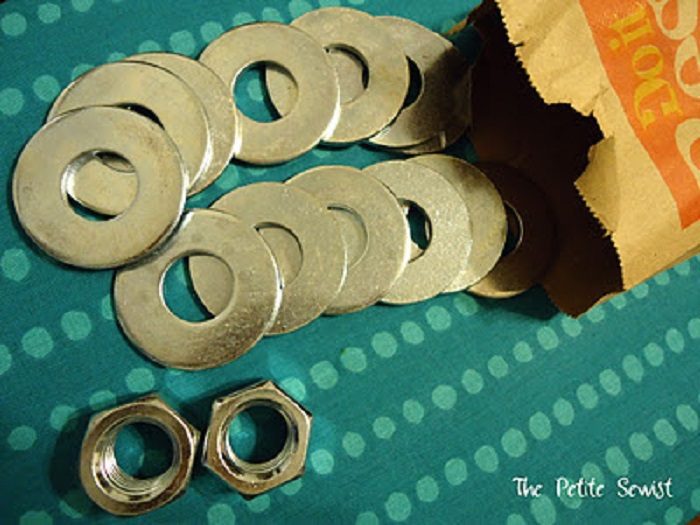
Trying to trace out a pattern on a very light or delicate fabric can feel like an impossible task. You don’t want to use too many pins or anything heavy to keep the pattern in place, especially if it’s one of those paper-thin designs because then you risk tearing your pattern. A simple solution is to grab some nuts and washers to use as fabric weights to hold the pattern down. Get a little container to hold the nuts and washers, and keep them with your sewing supplies for easy access.
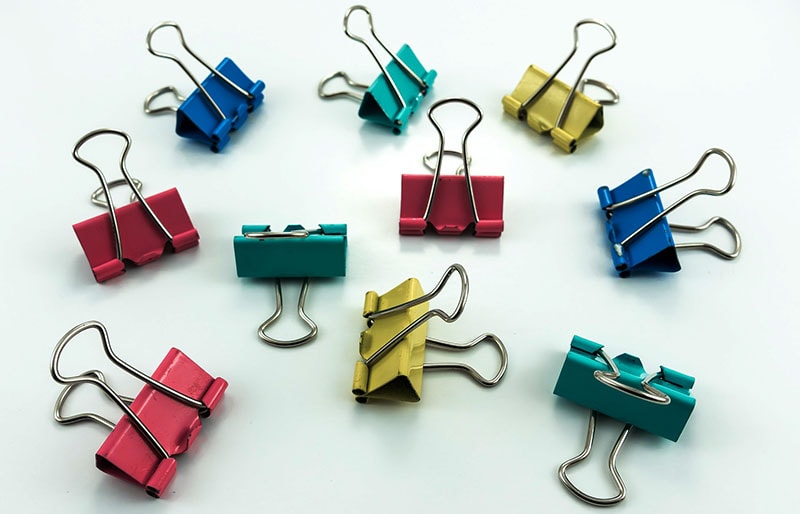
Use Binder Clips for Applying Binders

Photo Credit: sewing.com

Trying to keep your binders in place while sewing can be an arduous task. Maybe you’ve tried pins and other methods of holding the binder in place and haven’t had much luck. Well, you’ll never have trouble keeping your binders in place again with this simple tool. Grab some binder clips from the home office aisle at your local store and viola! Use these clips to hold your binders in place while you’re sewing. You’ll always have even bindings on your sewing projects with this hack.

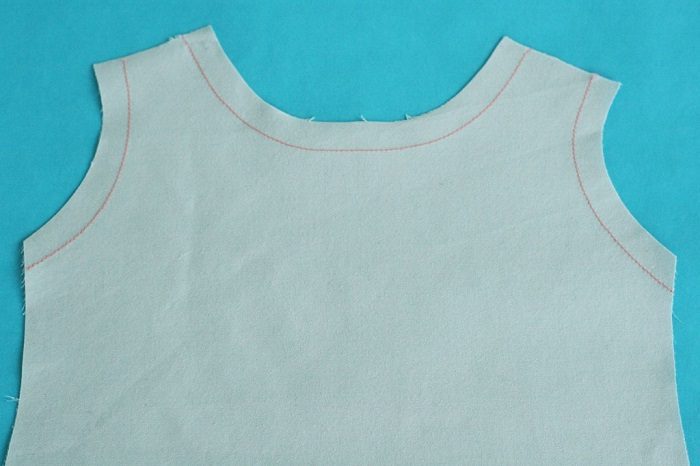
Use Staystitching

Photo Credit: blog.seamwork.com

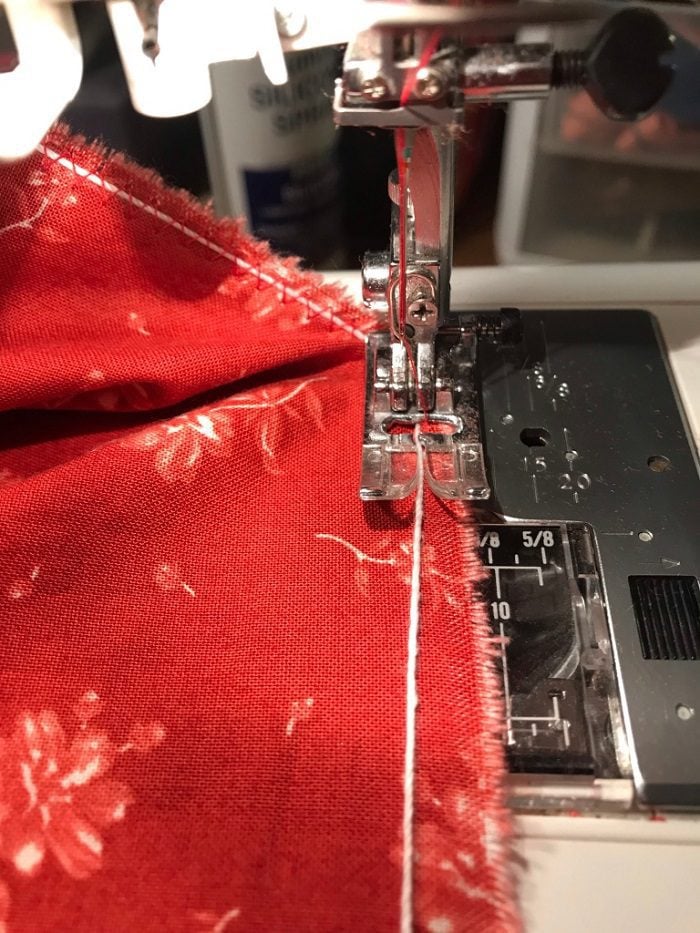
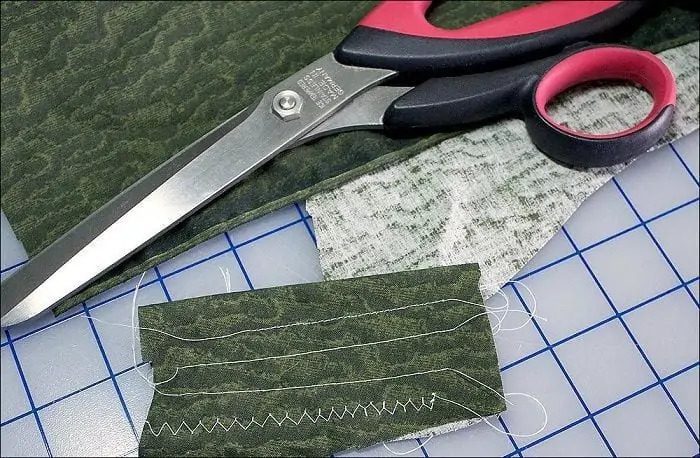
Whether you’re a hobbyist or sewing is part of your profession, you probably know about the importance of staystitching. Staystitching is a row of stitches on curved pieces of fabric that help the fabric keep its shape. Staystitching will help you hold onto the fabric and makes working on curved or diagonal edges a thousand times easier and more efficient.

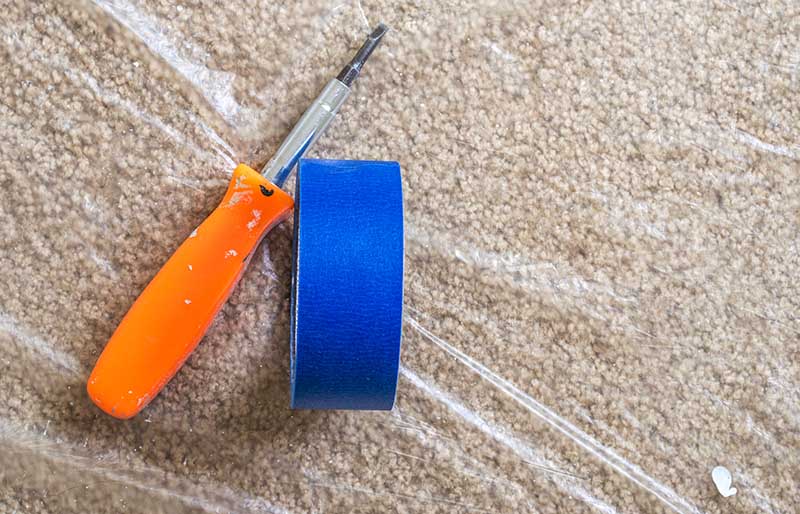
Use Painters Tape

Photo Credit: sewing.com

Painters tape is an inexpensive and super helpful item to keep in your sewing box. You can use painters tape to hold your pleats and ruffles together while working on a project. It’s the perfect tool for the job because it will hold them securely in place without causing any damage to the fabric. Just make sure to use a different pair of scissors to cut the painter’s tape than the scissors you use to cut fabrics!

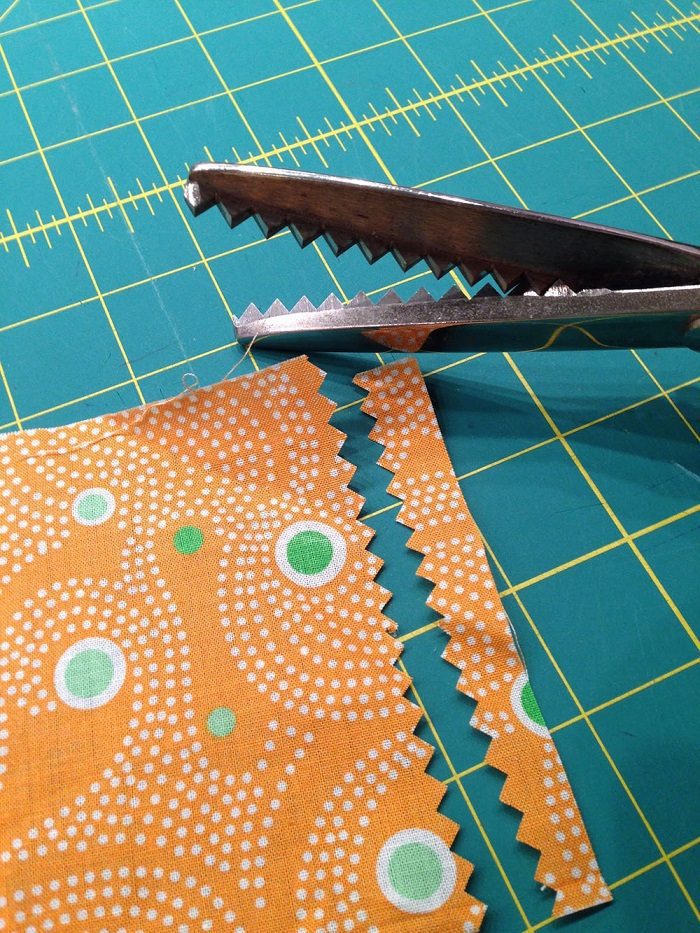
No Frayed Fabrics

Photo Credit: sewing.makportal.net

Some fabrics are more prone to fraying than others. Oftentimes, older fabrics will begin to fray, regardless of how well you take care of them. If you’re dealing with a fabric that is likely to fray, then you need to get a pair of pinking scissors with serrated edges. These scissors are spring-loaded and pop open after each cut, which prevents fraying and a build-up of lint or fuzz. Plus, they cut an awesome zig-zag pattern into the fabric, which is great for tons of different projects!

Use Dental Floss for Buttons

Photo Credit: sewing.com

Buttons tend to get pulled off of clothing pretty frequently. Young children love to pull them off, and they can easily get snagged on random everyday objects. You don’t want to waste a bunch of thread continuously sewing buttons back on, so try this hack instead. Use dental floss to sew buttons onto your clothes! It’s more durable than regular thread and should prevent your buttons from popping off as frequently. Plus, it’s way cheaper to keep sewing buttons back on with dental floss than with sewing thread.

No More Tangled Thread

Photo Credit: morehackz.com

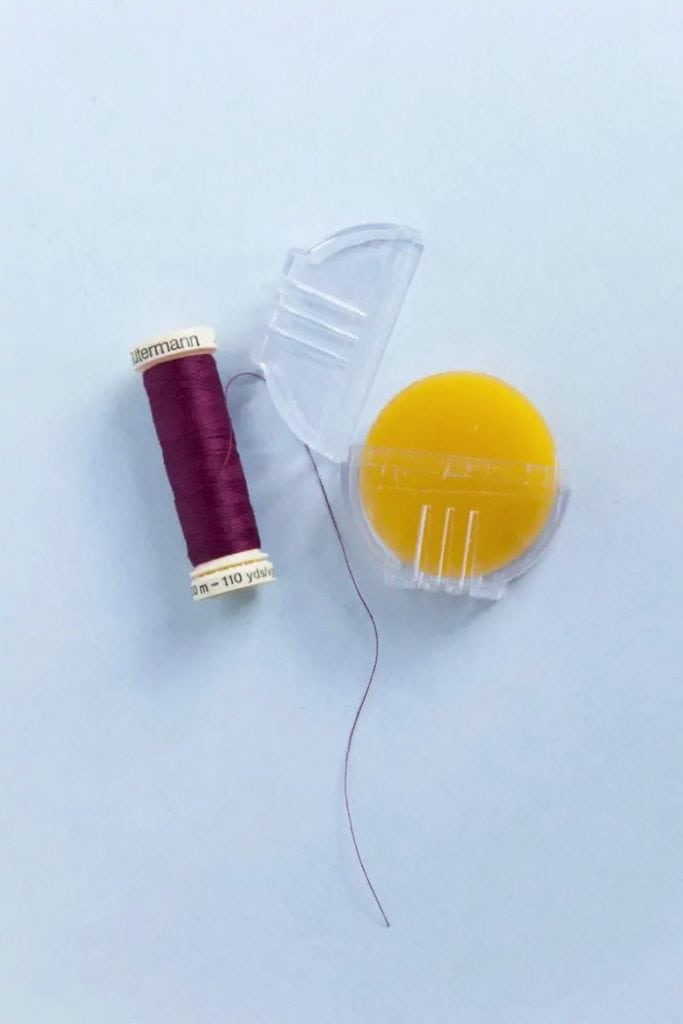
Dealing with tangled thread is a major headache when you’re in the midst of a sewing project. It’s impossible to untangle thread sometimes and you end up having to start all over, causing you to lose a lot of time and work in the process. So, how do you prevent your thread from tangling? Grab one of these circular beeswax holders! Coat your thread by pulling it through the beeswax container. This will make your thread so much easier to work with and prevent potential tangles.
Strengthen Your Decorative Threads

Photo Credit: sewing.com

This hack gives you a creative solution to a common problem found in sewing projects. Here’s the trick: take two spools of thread and thread them through your machine and around the needle as you normally would. Make sure both pieces of thread are through the eye. Then, you can sew with a delicate metallic thread while the secondary thread helps to strengthen it!
Place Your Pins Horizontally

Photo Credit: happyquiltingmelissa.com

How many times have you been in the middle of working on a project and accidentally hit a pin? Not only can this jolt you right out of that sewing mindset, but it can also cause serious damage to your sewing machine! Sometimes, when you’re on a roll, it’s easy to miss the pins holding your fabric together. Instead of placing them vertically, as most people do, try placing your pins horizontally, as seen in this picture. It makes the pins much more visible and easy to avoid.

Sharpen Your Pins

Photo Credit: sewing.com

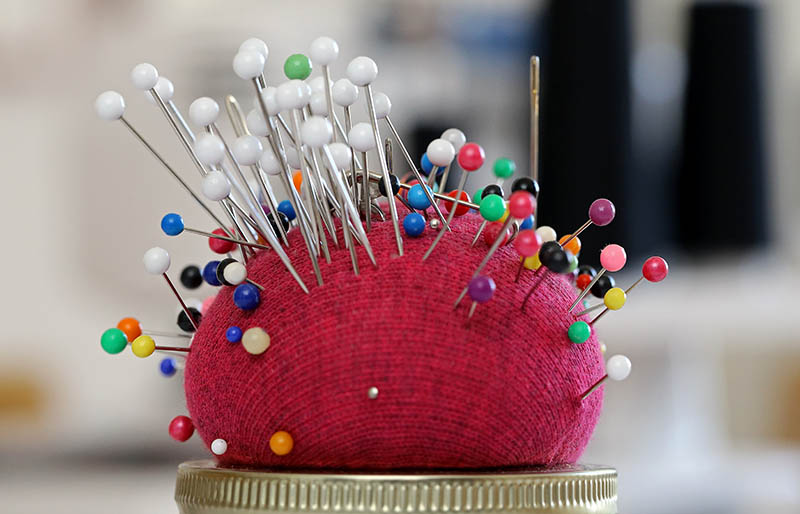
Many people don’t think about the importance of keeping their pins sharp until they come across a dull pin that doesn’t work well to hold their fabrics together. Keeping your pins sharp is essential, and we have a super easy hack that will do all the work for you. All you need is to create a pin cushion using a ball of steel wool! The steel wool will sharpen your pins each time you push them in. As an added bonus, fill the pin cushion with some rice. This will help absorb moisture and keep your pin cushion functioning for longer.

Use A Toothbrush To Thread Stubborn Needles


Photo Credit: reddit.com

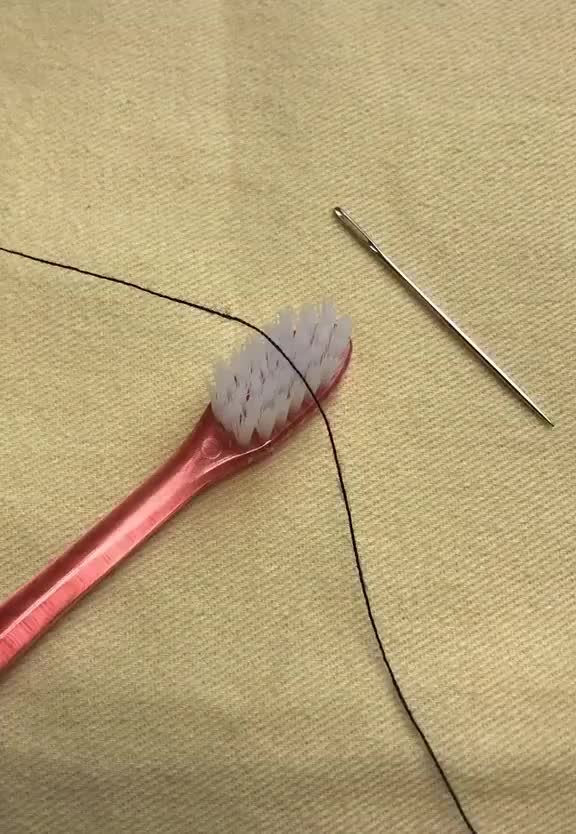
Threading the eye of the needle presents a huge challenge for most of us. You need perfect eyesight, the steady hand of a surgeon, and lots of luck to get your needle threaded without any hassle. Or you could just use the toothbrush hack! This is an awesome trick that will save you so much time and frustration. Simply place your thread over a toothbrush as shown in this picture. Then, press the eye of the needle down on the thread and through the bristles of the toothbrush until the thread starts to poke through. Take another needle to pull the thread the rest of the way through the needle! This is a super easy hack that will get your needle threaded in seconds and prevent you from constantly having to cut the thread.

Keep Your Buttons Sturdy

Photo Credit: sewing.com

We already discussed one button hack, and here’s another one that will help keep your buttons in place. Buttons get dislodged pretty easily, so it’s great to have some tricks up your sleeve that will prevent you from having to sew buttons back on constantly. Once your button is sewn on, use clear nail polish to lock the threads in place. This is an easy hack that will keep the threads in place and lock your button on the fabric.

Magnet Hack

Photo Credit: kjmagnetics.com

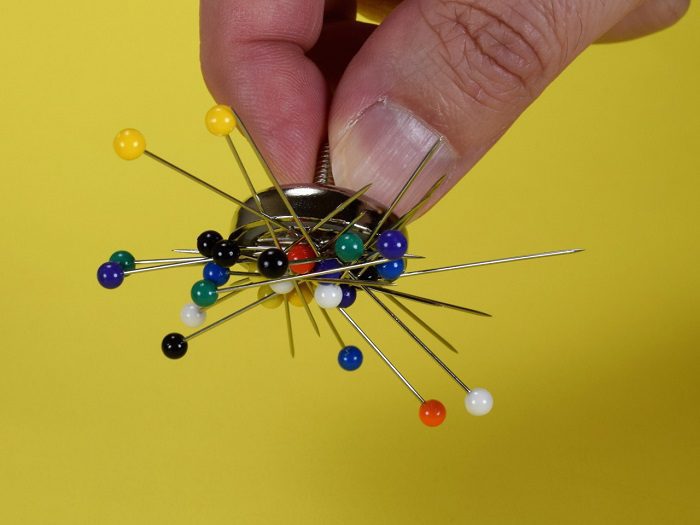
Losing pins and needles is a major annoyance when you’re working on a sewing project, plus it can be really dangerous if you have young children or pets in your home. When you need to gather all your pins and needles together and want to make sure you don’t miss a single one, just use a magnet! Run a magnet over your entire work surface and the surrounding floor to ensure every pin and needle is accounted for. Plus, you might discover something else that fell on the floor and was forgotten about!

Use Ribbons to Keep Track of Scissors

Photo Credit: sewing.com

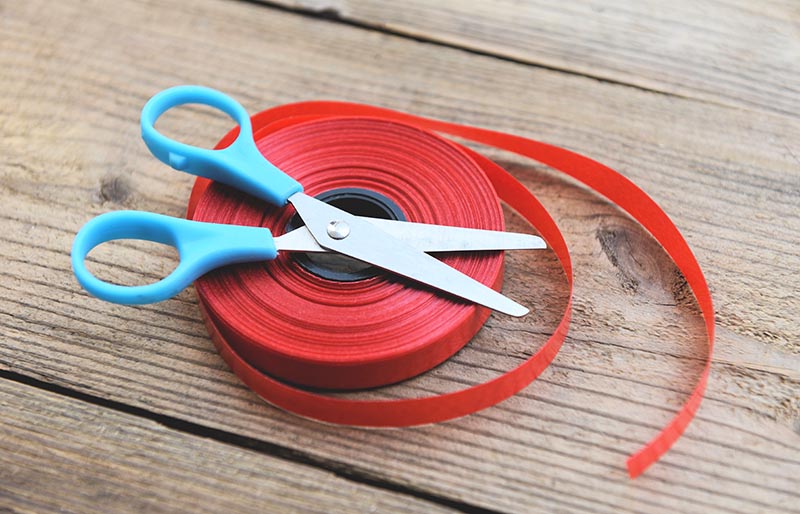
There are few moments more frustration than realizing you’ve misplaced your scissors! No one wants to stop in the middle of a sewing project to go searching for their scissors, so we have an awesome hack to prevent that from happening. Simply use a bright, noticeable length of ribbon to tie around the finger slot of your scissors. Then, you can tie the scissors to your workspace or your sewing kit. You’ll never spend ages searching for misplaced scissors again!

Trick for Holding the Drawstring

Photo Credit: morehackz.com

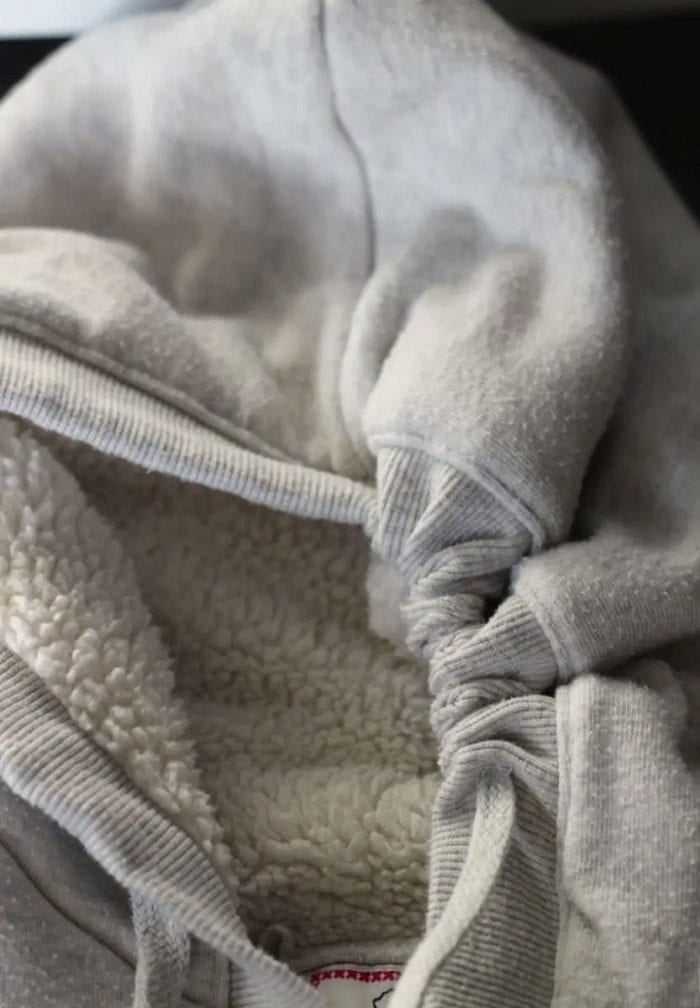
Everyone loves wearing a hoodie during the colder times of the year. They’re super comfortable, easy to take on and off, and perfect for keeping you warm. However, the drawstring that allows you to tighten the hood around your head also has a habit of coming loose. Well, there’s a simple trick that will allow you to keep the drawstring in place easily. All you need to do is make a stitch in the middle of the back of the hood to hold it in place. The hood will still look the same, but the drawstring won’t be able to escape when you need it the most!

Use a Serger Spool

Photo Credit: reddit.com

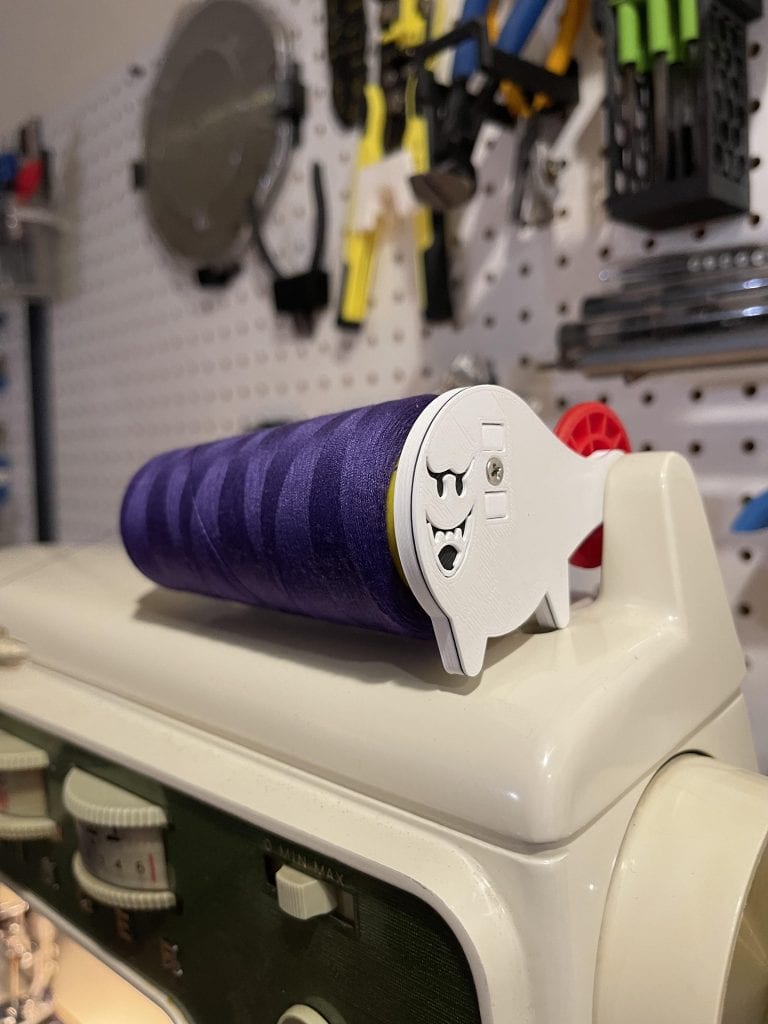
When you have a massive sewing project, it can be tiring to have to continuously change out your thread. Did you know that you can use oversized serger spool pins with a non-serger type sewing machine? If you didn’t already know that, then this hack is going to be a huge time saver for you! Put a slightly bigger serger spool on a smaller one before putting both spools on the machine. This hack works like a charm and allows you to sew uninterrupted for longer.

Keep Your Trim Organized

Photo Credit: withmyhandsdream.com

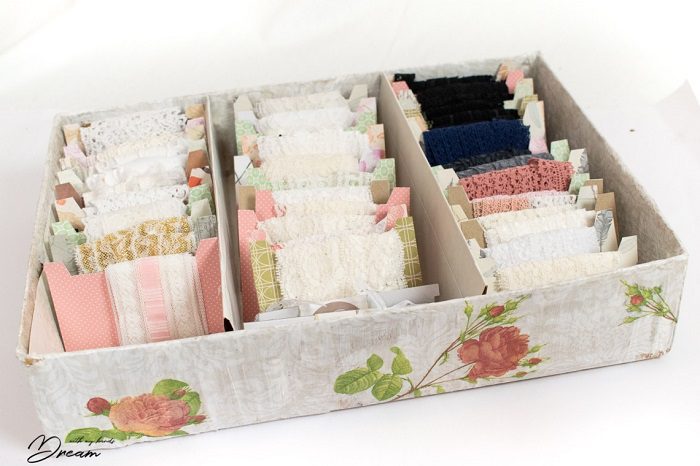
Trim can totally alter the appearance of your sewing project. Using ribbon, gimp, ruffle, or passemeenterie will enhance your creation and make it stand out from the crowd. However, trim can be very thin and fragile, which is why keeping them separated and organized is so important. A great way to keep your trim organized is to take small pieces of cardboard and wrap your trim around them. Then, place the pieces of cardboard upright in an organizer box as shown in the picture. This not only keeps your trim safe, but also makes it easier to find the specific trim you’re looking for in the future.

Quick, Easy Hem

Photo Credit: blueprintsforsewing.com

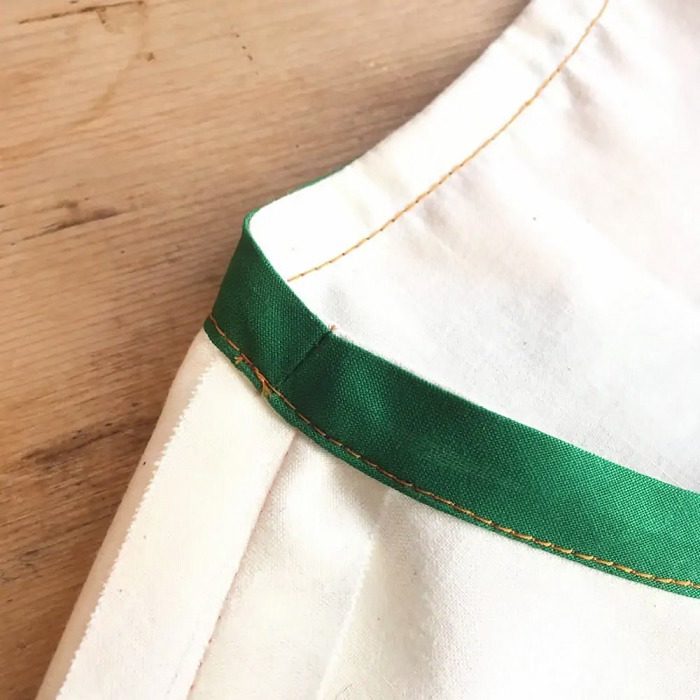
Using hem, especially when the thread is a contrasting color from your main fabric, works beautifully to enhance the style of your garmet. You need bias tape to create a sleek hem, but stitching bias tape isn’t easy and can make your hem look a little wonky. However, it’ll be a breeze once you implement this tip! Look for little waves to appear when you align the bias tape with the curve. This is a good sign that indicates the excess fabric is pulling away from the curve. You machine will be able to sew along this line without creating a of pleats or bunches.

Double Needle Tip

Photo Credit: morehackz.com

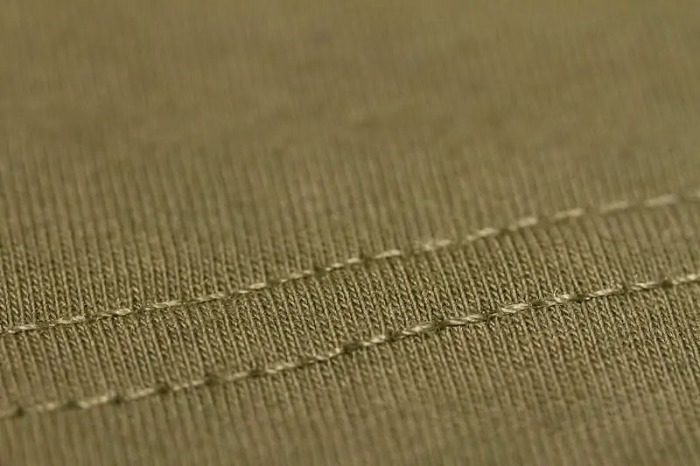
Learning the process of double lining is very important for anyone who wants to start sewing. Double needles work to make the double lines you see in clothes that keep the edges intact. Most sewing machines have this, but if yours doesn’t, then we have the perfect hack for you! Simply cut off a dowel and tape it to the edge of your sewing machine. Keep a thread spool on the dowel, and place the second spool of thread in the color you want the stitches to be. It’s super easy and very effective!

Easily Gather Fabrics

Photo Credit: morehackz.com

You need to be able to gather fabric quickly when you’re making something with lots of pleats in it, like a skirt or a vest. The fabric used to create these garments is often too stiff and hard to work with easily, but that’s why we have this hack for you! Use crochet thread here since it’s thick and durable. Crochet thread works perfectly to hold fabric in place while creating ruffles or pleats. It’s a super simple and effective hack everyone who sews needs to know.

Be Careful Which Garmets You Take In

Photo Credit: morehackz.com

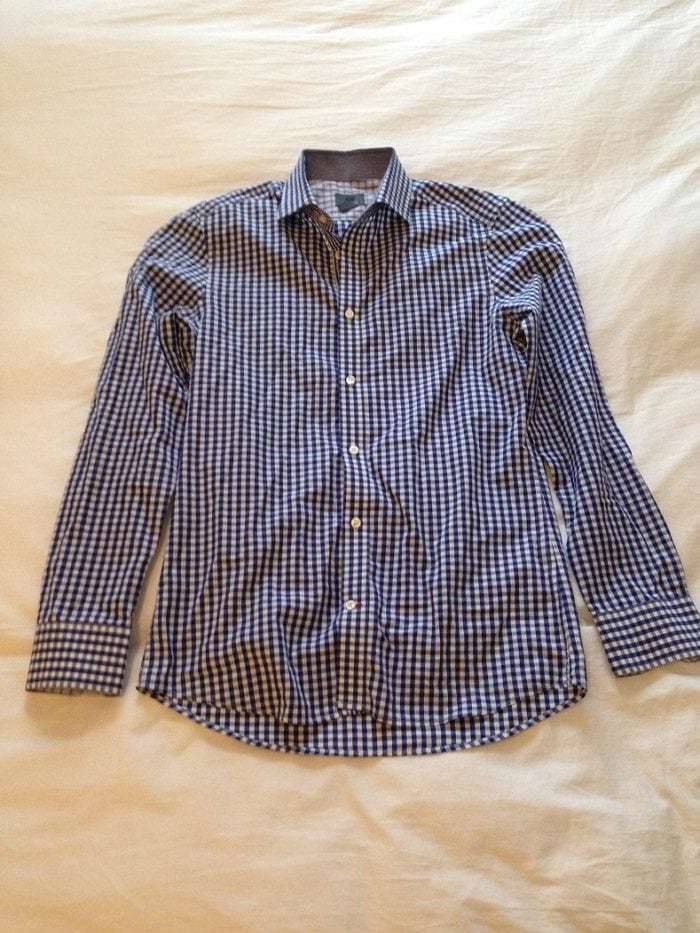
One of the benefits of learning how to sew is having the ability to take in your clothes. Rather than having to buy a new wardrobe after shedding your winter weight, you can take in your garments and save your favorite pieces! But not every piece of clothing can be taken in. Anything that’s been tailored shouldn’t be taken in because it will ruin the overall look of the attire. This is a handy tip to remember to avoid wasting your time and ruining a perfectly good shirt.

Get the Perfect Seam Allowance

Photo Credit: instructables.com

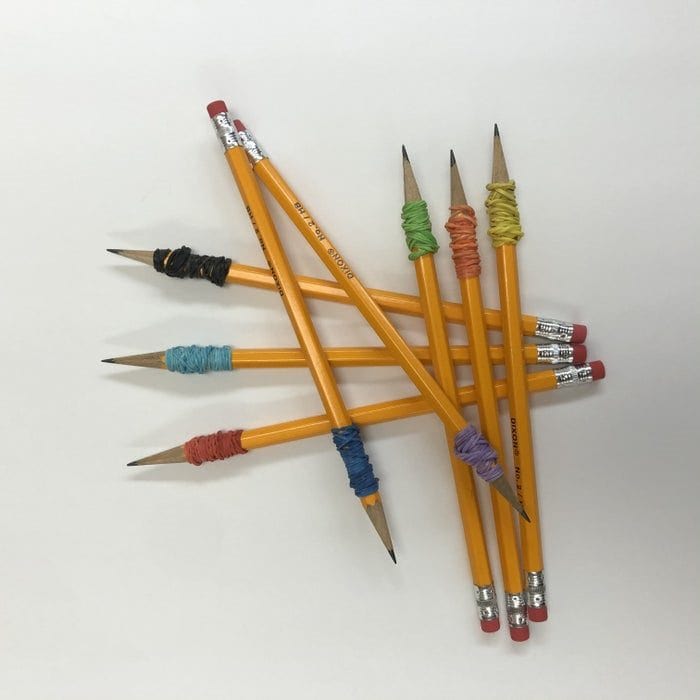
It’s essential to ensure your seam allowance is the perfect width while stitching the edges of your project. It provides double protection to your stitches and makes it easy to loosen the attire in the beginning. A super easy and effective method to get the perfect seam allowance requires using a couple of pencils and a rubber band. Simply tie two pencils together with a rubber band and then draw your seam allowance. Make sure the pencils are about 3/8 inches apart from each other for best results.

Stitch the Perfect Quilt Line

Photo Credit: weallsew.com

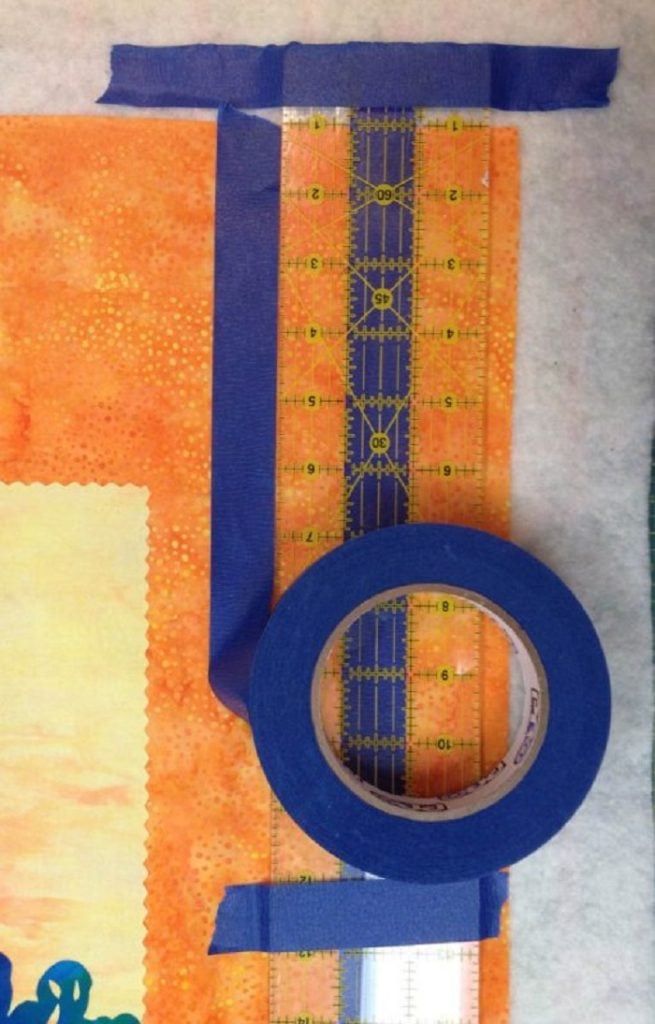
Quilts are a fun project to sew, but they can also be one of the most difficult. The excessive width of quilts tends to make it difficult to sew the perfect quilt line, but we have an awesome hack that will take all the stress out of this project for you. Use masking tape at the place where you want to draw the lines, and then use a pencil to mark the edges of the tape. The tape helps you create the perfect margin to sew by holding the squares firmly in place.

Keep Your Bobbins Safe

Photo Credit: sew4home.com

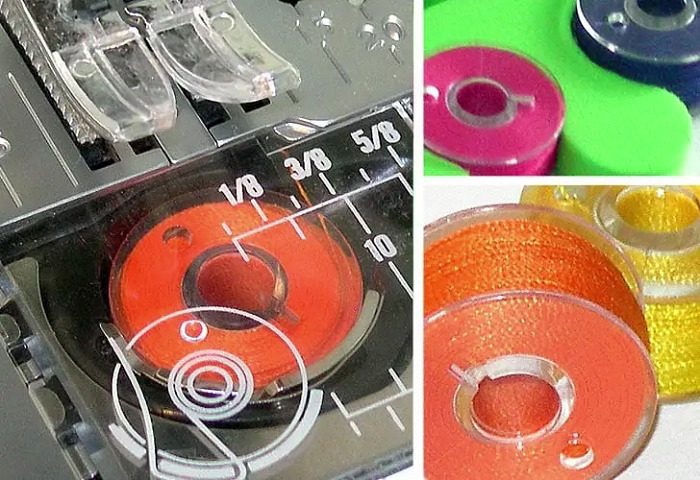
Anyone who sews with a machine is likely to have a ton of bobbins lying around. Bobbins are super tiny, and it’s tough to reel them when you’re in the middle of a project. A super easy and cheap way to keep your bobbins secure and in one place is by using toe separators! You can easily buy these at most dollar stores and sewing shops. They’ll keep your bobbins easily visible and organized in one place.

Remember Your Measurements

Photo Credit: diyjoy.com

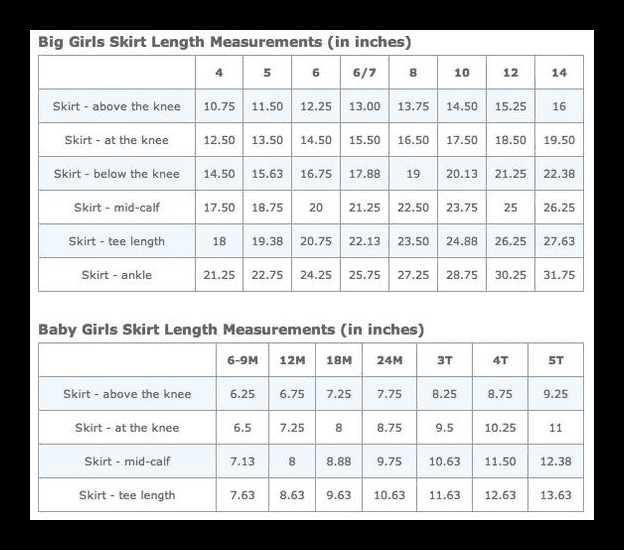
Skirts are one of the most popular projects to work on for beginner and advanced sewing lovers. However, it can be very difficult to remember the correct measurements for this garment. If you get the measurement wrong, you won’t be able to gift the skirt to your intended recipient, so it’s very important to have a way to remember your measurements! The best way to do this is to have a visual reminder. Create a cart showing the proper measurements, print it out, and put it in your workspace where it’s easily visible.

Sew in a Circle Trick

Photo Credit: sewing.com

There will be projects that require you to do some circular sewing. It can be pretty daunting if you’ve never done something like this before, but we have an awesome trick to help you master this skill. For this trick to work, you need a plastic cap with sandpaper attached to the bottom. Use this object as your template for sewing. It will help you sew a proper round shape without any wonky edges!

Get Crisp Edges

Photo Credit: closetcorepatterns.com

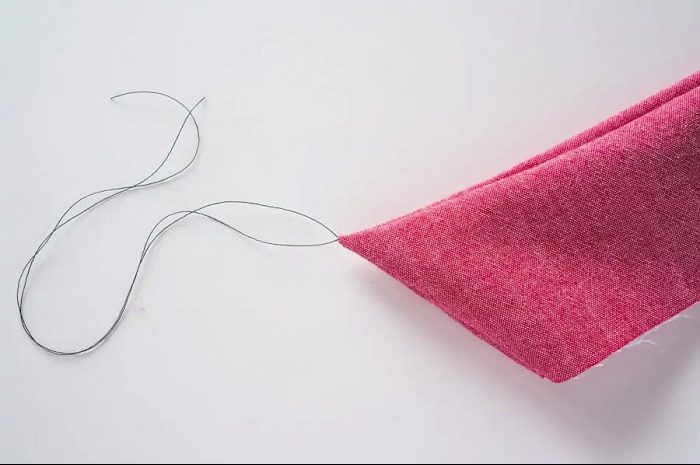
It can be difficult to achieve crisp corners when sewing shirts. Getting those crisp corners is essential for creating a garment that looks clean and professional, so you need a great trick that will help you achieve your goals! A really helpful tip is to turn the fabric inside out when you’re sewing the corners. You can also use a short stitch length to square it off with a couple of shirt stitches as you get close to the corner. Another tip is to sew the corner stitch over a piece of thread and then use that thread tail to pull the corner.

Sew Buttons On By Hand

Photo Credit: sewing.com

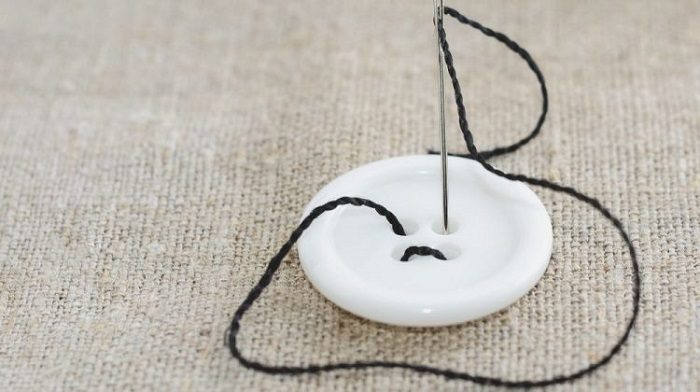
Sewing on the buttons is one of those frustrating parts of sewing projects. These little buttons need to be perfect, but they’re easy to mess up. You don’t want to be enjoying a night out just to realize your buttons are popping off! The best way to ensure perfect buttons is to sew them on by hand. Just make sure the thread is the right length and isn’t pulling the fabric along with it. Keep the button stable and in one place as you sew it on. Easy peasy!

Hack for Sewing Bulky Fabrics

Photo Credit: sewingmagazine.com

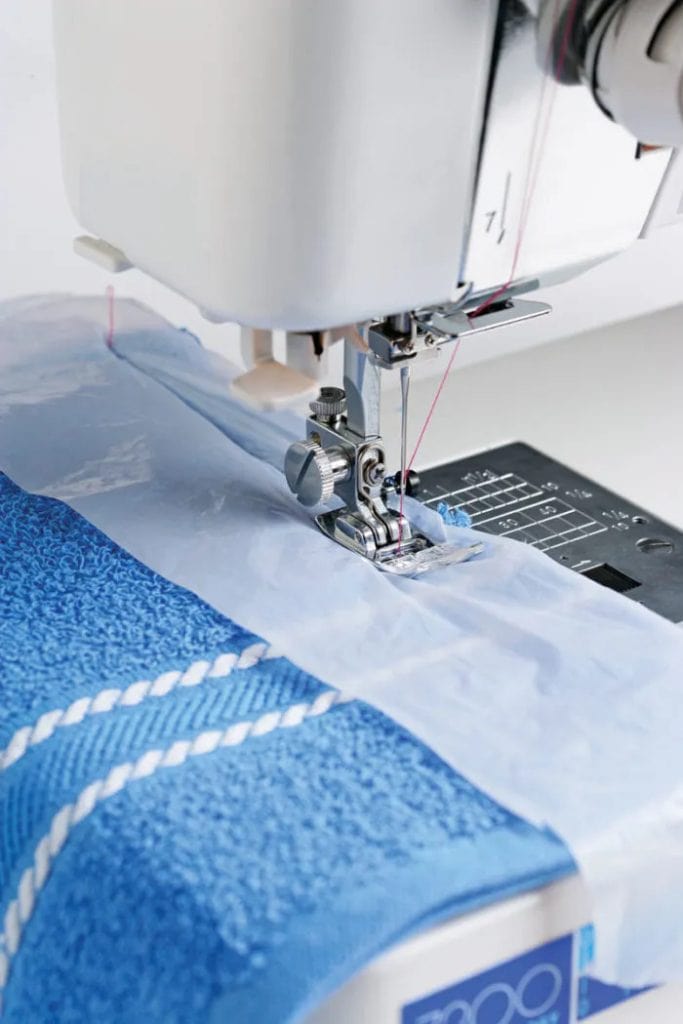
Bulky fabrics are great for creating home decor and costumes, but they can be a real pain to work with. If you’re struggling to work with these fabrics, then don’t panic! You’re not alone in the struggle, and we have a great trick to make this fabric much easier to work with. Try using a plastic strip on the fabric you’re working with. Using a strip of plastic will help the material move more smoothly and easily. Trust us, this hack will make all the difference!

Easily Install Zippers

Photo Credit: sew4home.com

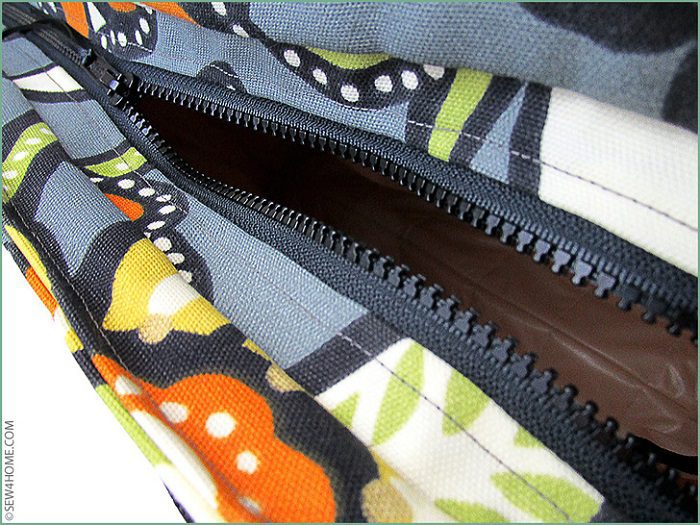
Many people believe zippers are extremely difficult to sew on, but that isn’t the case! It’s all about how you install the zipper. We have the ultimate secret to installing zippers! Just keep the needle on the left side and begin sewing along the right side of the seam. Slide your fabric underneath the presser foot and mark the bottom of the zipper. Do a couple of backstitches and then start sewing again. Keep sewing the zipper until you’re about two inches from the end. Then, you’re all done! You’ll love sewing on zippers once you use this hack.

Use A Seam Ripper

Photo Credit: wonderhowto.com

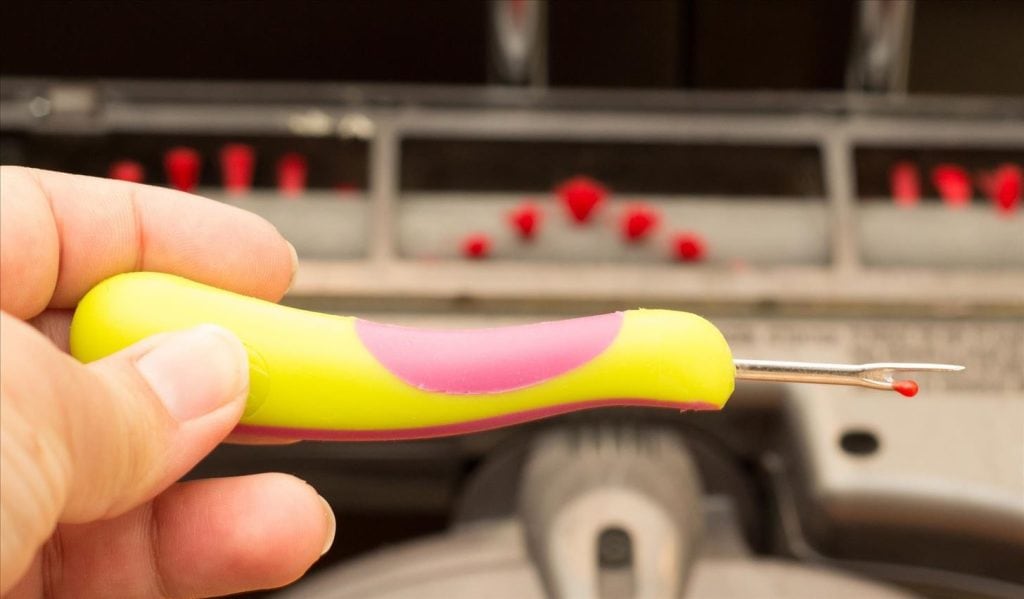
Mistakes happen, especially when you’re first learning how to sew. It can be pretty easy to fix some accidental stitching while you’re sewing. Whether you don’t like how a project came out or you accidentally stitched the wrong fabrics together, there’s a way to correct the mistakes. However, many beginners make the mistake of using scissors to undo their stitches. This is not the best way to get the job done. What you need is a seam ripper, as shown in this picture. Seam rippers are the perfect tool for the job, and they don’t risk damaging your fabrics.

Use A Fork To Make Ruffles

Photo Credit: homedecoras.com

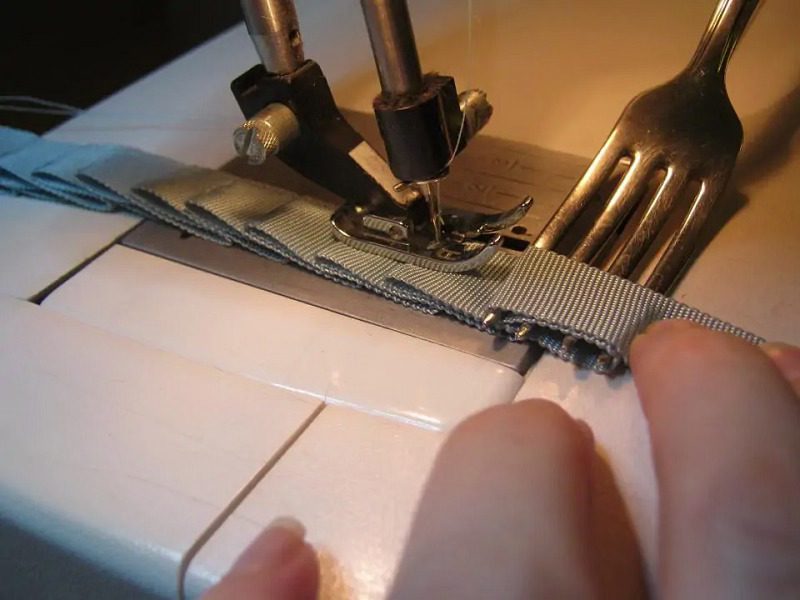
Who doesn’t love adding some ruffles or frills to their latest sewing project? They add a fun, decorative touch to any garment, and they look great! But a lot of people struggle with creating the perfect ruffles. Well, you won’t struggle anymore after learning this hack. Simply use a fork to roll up the fabric and create a ruffle. This hack works on a variety of materials and creates perfect ruffles or pleats every time.

Create a New Pair of Jeans

Photo Credit: littlemagerhouse.com

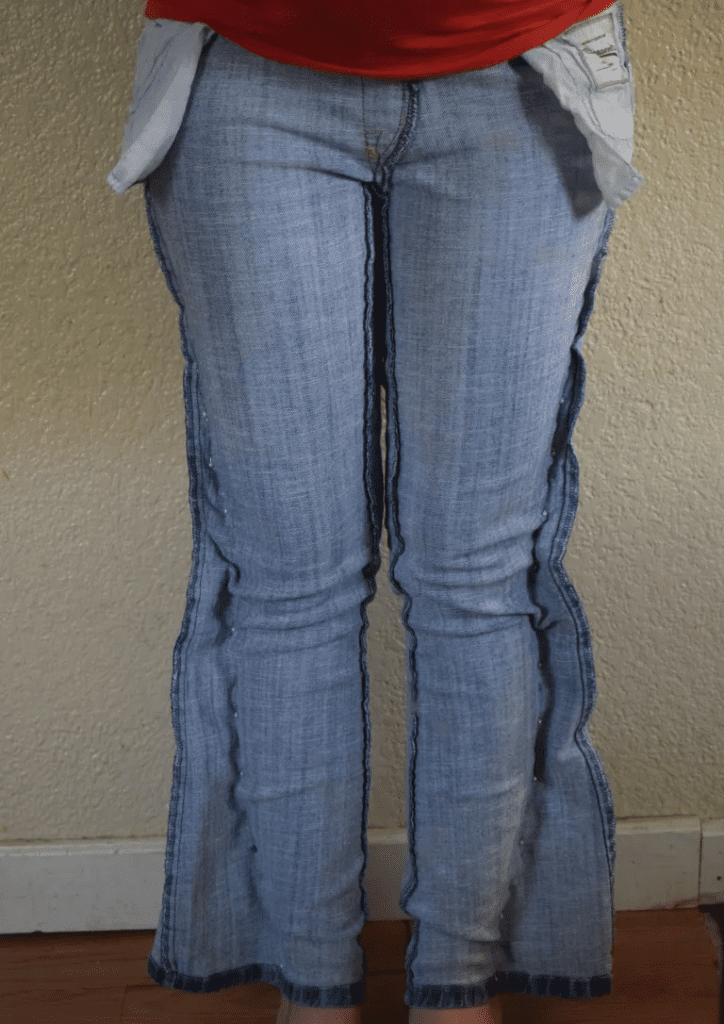
What do you do with old pairs of jeans that don’t fit anymore? Do you throw them away? Maybe you take them to local donation bins or gift them to someone. However, you can easily turn your old pair of jeans into a new pair of skinny jeans with this easy trick. Put the jeans on inside out and pin the fabric close to your legs. Then, sew along the pins and cut off the excess fabric. You’ll have a pair of skinny jeans that look brand new, and some extra fabric to play with!

Use Your Thumb as a Marker

Photo Credit: indulgy.com

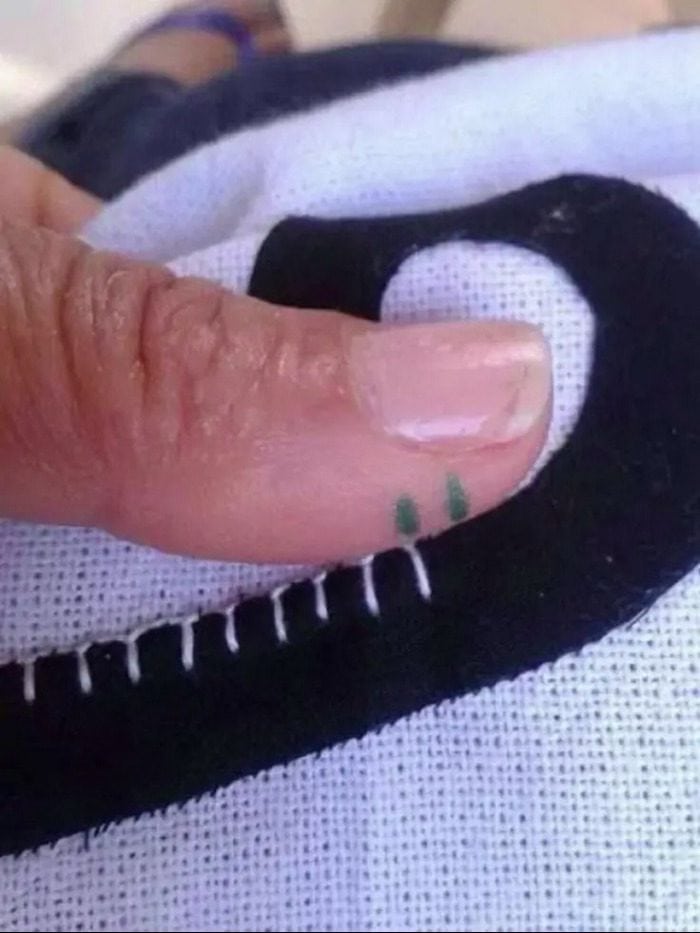
It’s so important to make evenly-spaced stitching patterns, especially when you’re sewing by hand. Having evenly spaced stitches makes your final project look professional and high-quality. We have a great trick for getting the right spacing while you’re sewing by hand. Use a sharpie to mark the space between stitches. Then, all you have to do is line up your thumb with the project. It’s a super easy trick that will make a massive difference!

Substitute Safety Pins for Bodkins

Photo Credit: reddit.com

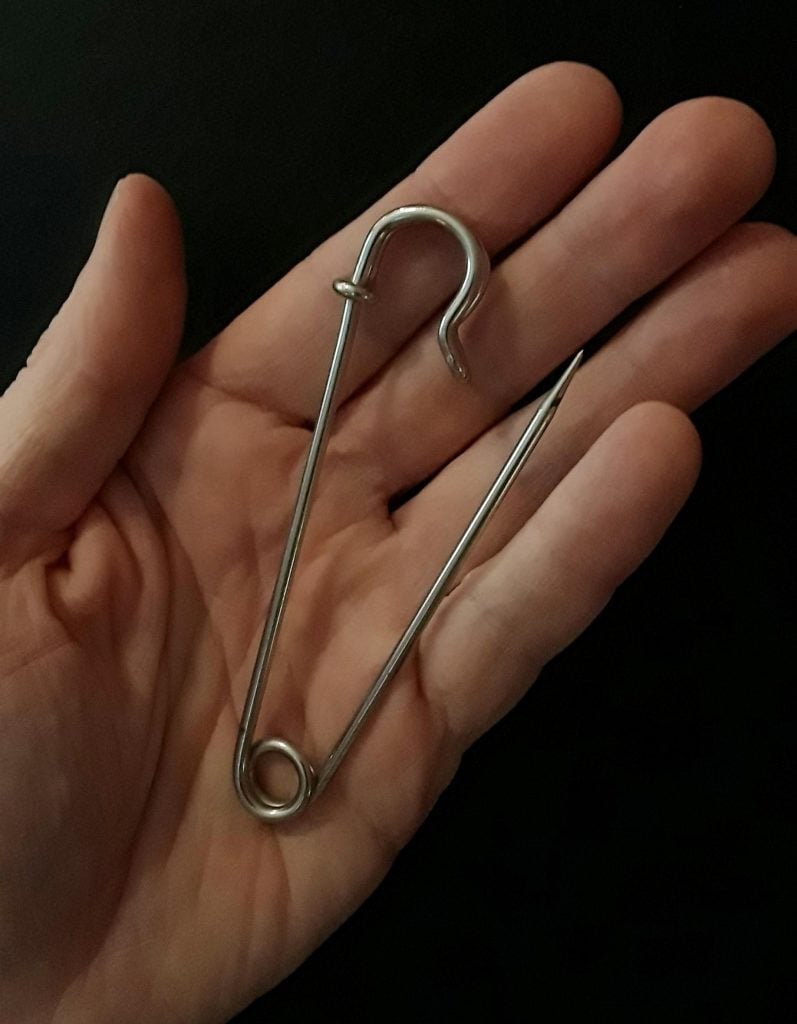
Stitching loops for hoodies or waistbands can be challenging. You need to make sure the loop is wide enough to allow the string to move in and out smoothly. If you don’t have a bodkin, then you can use safety pins as a super easy and effective replacement. The hard steel of the safety pin works well to easily pull the string to the mouth of the loop. This will help you use your time more effectively and efficiently!

Avoid Shrinking With This Tip

Photo Credit: homehacks.co

It’s important to know how to handle different fabrics when you’re working on a sewing project. However, there’s a simple trick that will help avoid shrinkage for all fabrics, with a couple of exceptions. This tip doesn’t apply to 100% polyester but will work for the majority of other fabrics. Just wash the fabric before you start sewing with it to avoid shrinkage. This tip will make a world of difference for you!

Simple Stitching Tip

Photo Credit: morehackz.com

This is a simple trick that will save you a ton of time once you start using it. Before starting any project, it’s essential to check that your sewing machine is performing proper stitches. Otherwise, it can completely ruin your project! Take an old piece of cloth and try a few stitches to see if they’re coming out properly. If not, you can fix your machine and do another test run. When the stitches come out correctly, you can move on to your main project without worrying about wonky stitching!

Advertisement