How to Make a DIY Bed Frame This Weekend

Trista - March 6, 2020
Share

A bedroom is a private space for everyone. It’s a space that might make you shut the door when you have company, not because of any mess but because it’s a sacred space that not anyone can see. Because of this, it is a space that you want to make entirely yours. You want to have your relaxation area, your “me” time, and bring you to a stronger state of peace.

With a space that is so important, it is easy to spend a lot of money renovating the area. You need to pick out the perfect carpet, wallpaper or paint, and the best furniture that will give you a feeling of security – especially when it comes to your bed. You want a comfortable bed, doesn’t take up a lot of room, yet it will help you stay organized. This means you might want a bed frame with shelves and drawers, but they are too much for your budget. If this sounds like you or you have an idea to give your child a new and bigger bed but don’t want to pay for any overpriced bed frames, you need to continue reading so you can learn how to make a bed frame.

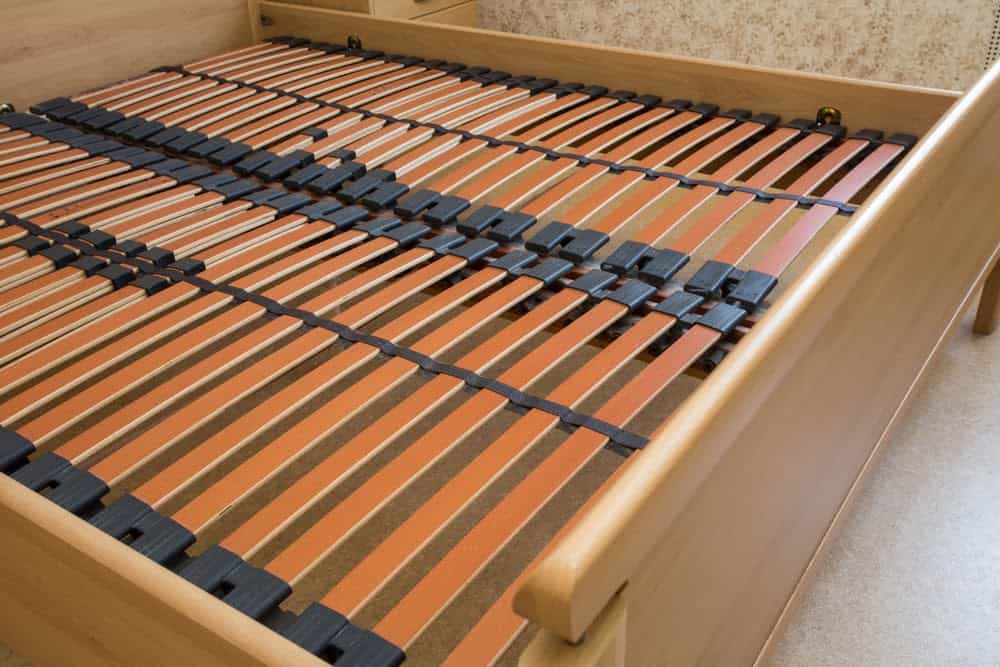
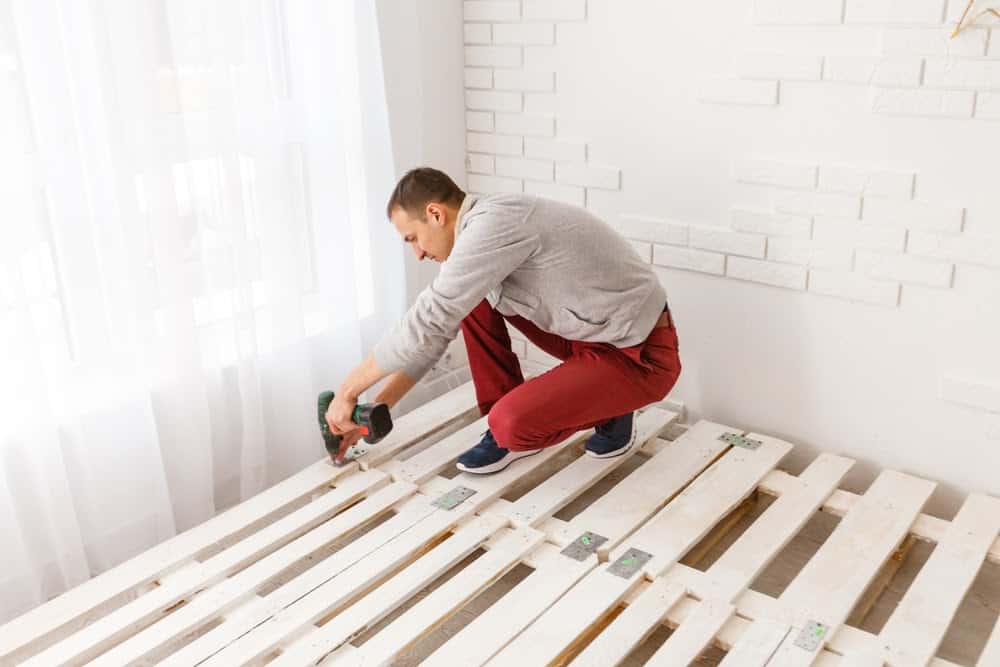
There are three main parts when it comes to building a bed frame, and each piece is broken down into its own series of steps. Shutterstock.

To Complete This Process, You Need To Follow Three Parts
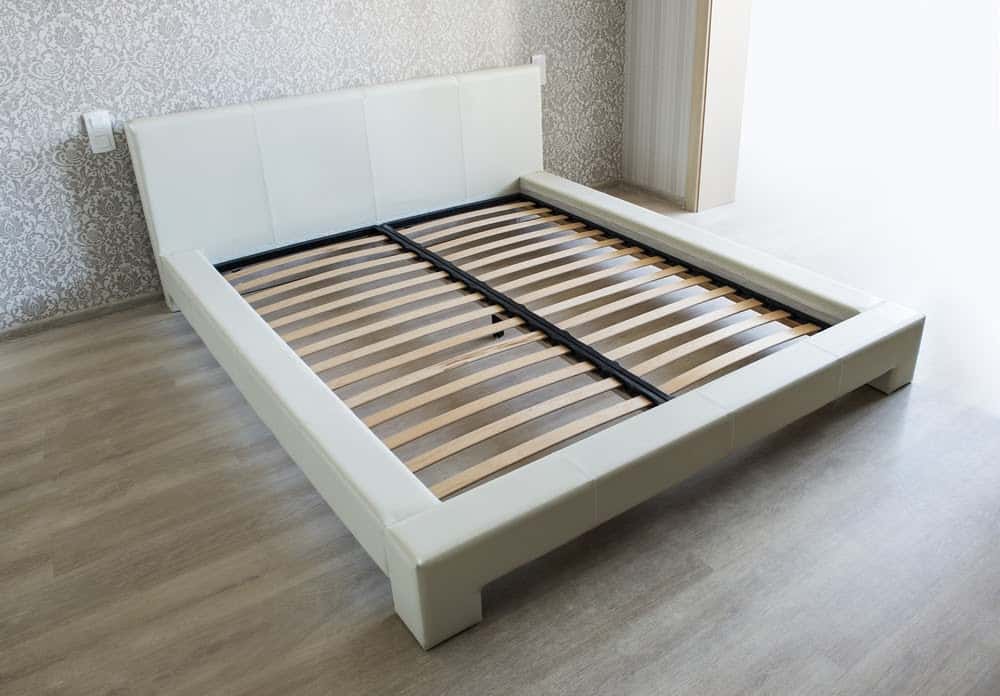
Three main parts go into making your own bed frame, and each section contains a series of steps. Now hold on, this doesn’t mean that you hit the back button and tell yourself that you can’t do this. You can build the best bed frame for you or a member of your family, no matter how little experience you have in making anything.

Don’t let the few parts and several steps frighten you because this process is one of the most natural methods to follow for making a bed frame. The three parts include building the base, building support for the headboard and mattress, and then finishing the bed.

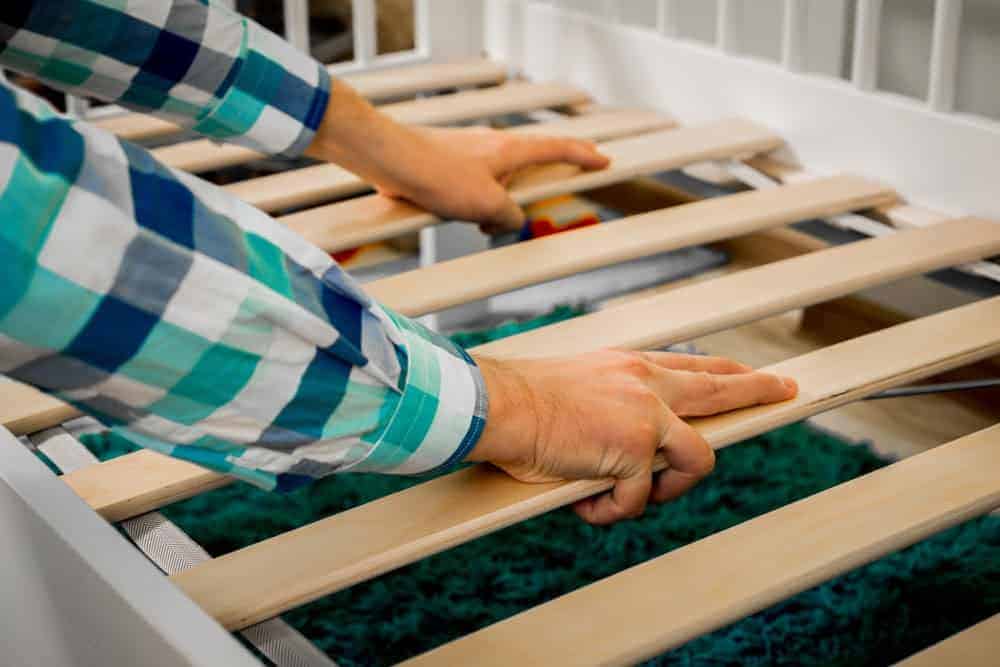
All you need to make your unique bed frame is $500 and one to two weeks. Shutterstock.

Time And Value Of The Project Is Important

Take a moment to think about where you can buy a new and high-quality wood bed frame for under $500. I am not talking about the four pieces of metal you can purchase at Walmart to hold your mattress and box spring off of the floor. I am talking about a bed frame with shelves or drawers.

To purchase the high-quality bed frame that this article will teach you to build is over $1,000 at any store. Simply by purchasing your own materials, tools, and following the process laid out to you below, you will save over $500. With that said, you also need to dedicate about one to two weeks, depending on how much time you have to put into the project daily.

There are a few materials you will need to ensure that your bed frame is placed together correctly. Shutterstock.

The Materials You Will Need

Before you take the step to pick up your materials and tools, you need to know what size of bed you want to make. For example, if you are making the bed frame for your child, you will choose a twin size, but if you are making it for your room and you have enough space, you might select king size. Once you have the sizing down for your bed frame, which is easily found online, you can start on creating your materials list.

In general, your materials list for this bed from will include four 1/4″ antique bronze connector nuts, four 1/4″ x 50mm antique bronze connecting bolt, #8 1-1/4″ flathead wood screws, #8 2″ flathead wood screws, 2″ x 8′ red oak iron-on edging, 3/4″ x 25′ red oak iron-on edging, Wipe-on satin polyurethane, and wood stain.

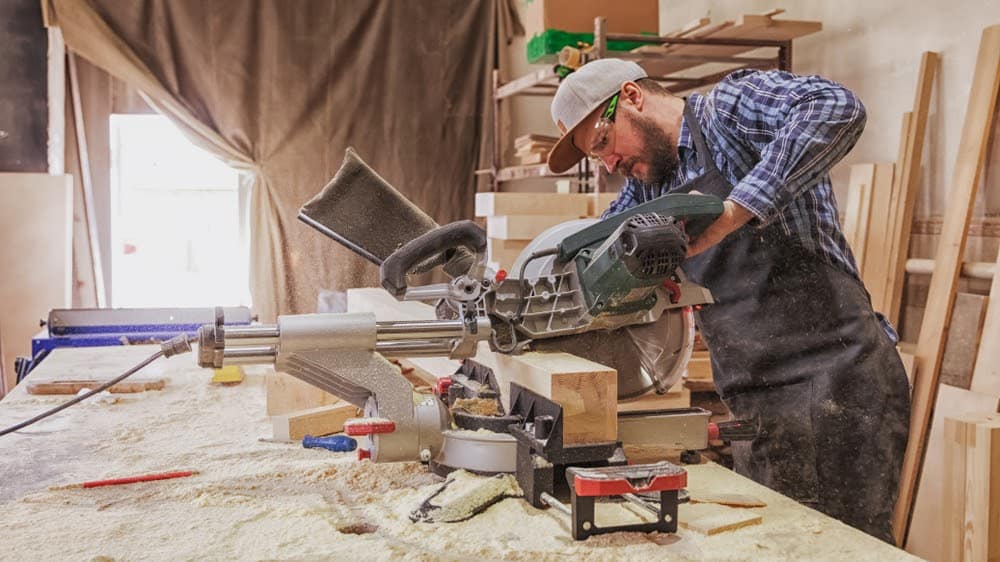
Some of the tools you will need to build your bed frame include a tape measure, wood glue, and a circular saw. Shutterstock.

Don’t Forget About The Necessary Tools

You might have some of these tools lying around your house. It is always a good idea to look to see what you have in your home before purchasing tools at the store. The tools you will need for this project include a circular saw with a straightedge, clamps, wood glue, tape measure, framing square, random-orbit sander with 120-grit sanding discs, and a cordless drill with countersink and driver bits.

Ok, in reality, that is not all of the tools you will need. You will also need a clothing iron (yes, the same one that people use to take wrinkles out of their clothes) and a straightedge, which is similar to a ruler or yardstick. Furthermore, you need to have a 3/8″ drill bit, hex keys, a combination square, and fine-grit sanding pads.

The first part of making your own bed frame is to focus on the base. Shutterstock.

Part 1: Building The Base

Everything needs a foundation when you start to build it, and a bed frame is no different. This is why one of the first things you will do when you start building your bed frame is to focus on the base first. There are six steps within part one.

The steps will involve cutting your plywood and using an iron to help you with the edges of your bed. When it comes to part 1, you need to follow the lengths you want for the size of the bed frame you are building. This project will only focus on the necessary steps and not tell you how far to cut one or another piece because this depends on the size of your bed frame.

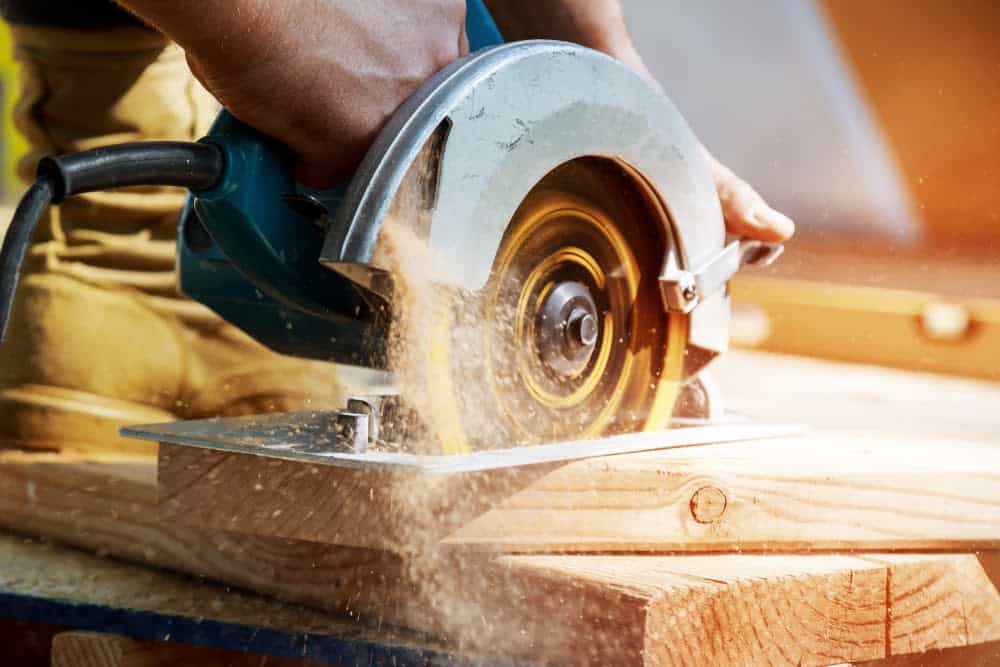
Always follow all safety guidelines when cutting plywood, such as keeping clothing and jewelry out of the way of the saw. Shutterstock.

Part 1 – Step 1: Cutting Plywood Into Smaller Sections

In the first step of part 1, you will want to cut the ¾-inch plywood into smaller pieces. Doing this will create the dividers, side case bottoms and tops, end case top and bottom, side backs, and the end case back. One of the factors you need to remember is that if you are making a bigger frame, such as for a queen or king bed, you will need to have one more divider. This extra divider is used in the end case.

When you are cutting the plywood, always be careful and go slowly. It is easy for accidents to happen, and you do not want anything to get caught in the circular saw, including your clothing. Therefore, always keep your sleeves rolled up or wear short-sleeves. It is also a good idea to put all your jewelry away, so it doesn’t get caught.

When you are making the bed frame, you will notice edges of the pieces sticking out and will need to tape them for several reasons. Shutterstock.

Part 1 – Step 2: Align The Tops, Bottoms, and Dividers

Start step 2 by aligning the ends of the side case tops and the side case bottom panels on sawhorses. Then, you will lay out the divider locations. In this step, you need to use a framing square as you need to make sure that the marks on both plywood sheets are the same so they can become adequately aligned.

The edges of the side case tops and bottoms, along with the dividers, will show when you get to the finished product, which can be dangerous. Therefore, you need to cover the edges with veneer edge tape. Not only will this keep anyone from getting cut or a sliver, but it will also look like a professional made the bed frame. To do this, you need to mark all the edges you see that need covering and then cut the tape pieces. The key is to remember to cut the tape an inch longer than the plywood edges on both sides.

If you have ever ironed clothing, you will have an easy time with part 1 – step 3. Shutterstock.

Part 1 – Step 3: Making the Veneer Tape Stick

Once you have the veneer tape in place with a piece of painter’s tape or regular tape that is safe for wood, you will use a clothing iron to press the veneer into position with the edges. Set the iron on the cotton setting as this is the best setting to activate the adhesive on the backside of the veneer tape.

You want to make sure that you let the veneer tape cool for a few minutes before you head to the next step in the first part of the building process.

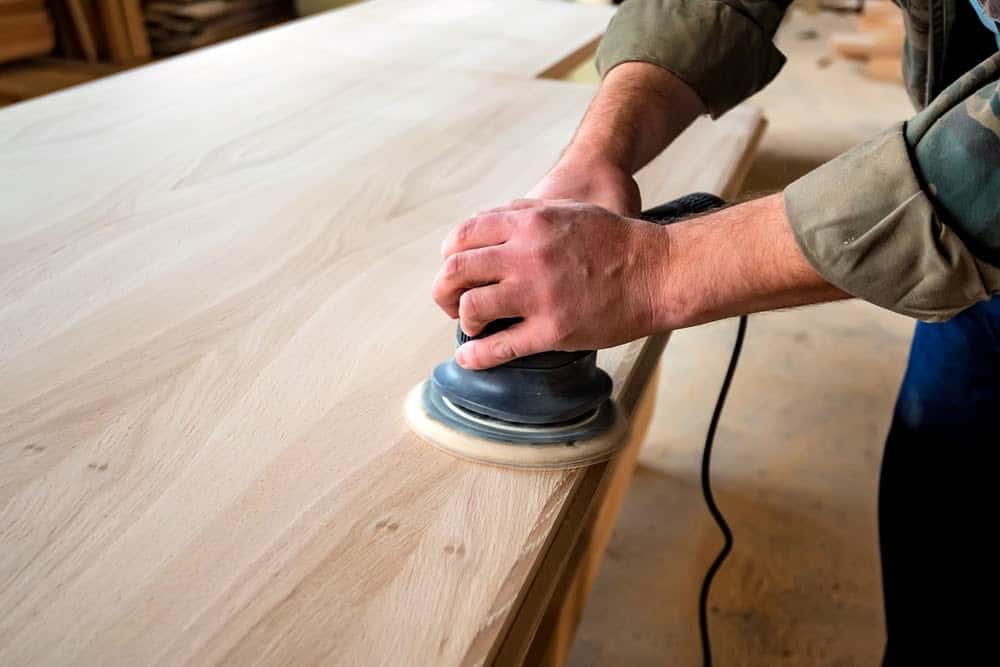
When sanding the edges, make sure that you get all the areas and gently rub your fingers over the areas you sanded to ensure the sharp edges are gone. Shutterstock.

Part 1 – Step 4: Start Sanding The Pieces

Once you know the veneer tape adhesive is dry and safely in place, it is time to focus on trimming the edges of the tape. You can use a utility knife to cut them down. Then, you will sand the edges, so they are not rough.

You will sand all the edges of the panels or any side where you added the veneer tape. Not only with the random-orbit sander help reduce any sharp edges, but it will create a softer look that makes the bed a little more comfortable.

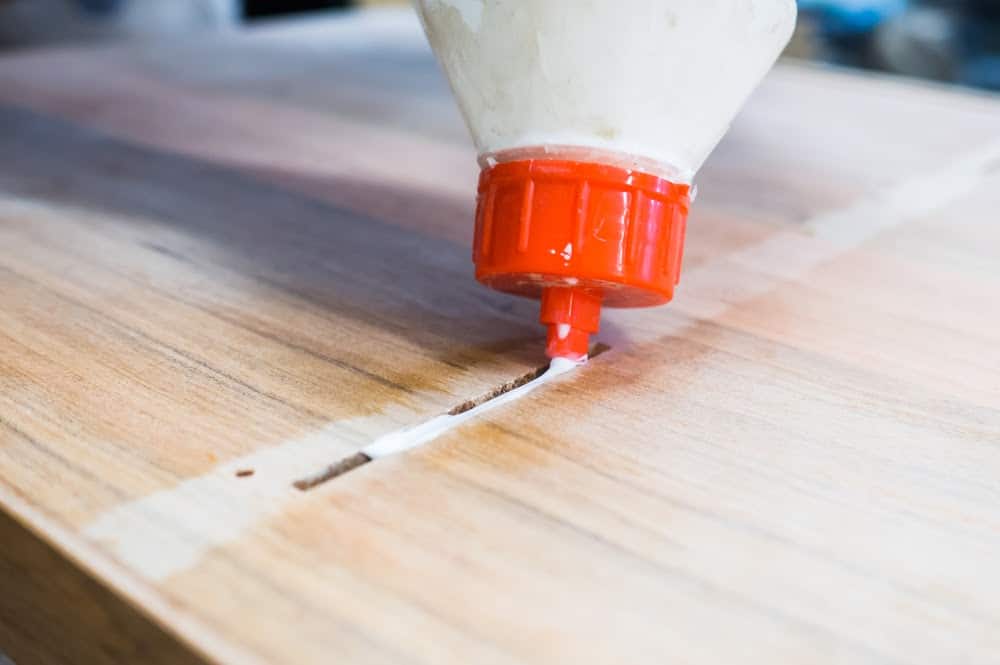
By using wood glue, screws, and a clamp, you can start to make your bed frame incredibly secure. Shutterstock.

Part 1 – Step 5: Glue And Screw The Dividers To The Side Case Bottom

Take your wood glue and layer it on to a divider. You will then position the divider against the side case bottom. To help keep your pieces together, you will use a clamp. Along with the wood glue, you will use three screws to secure the pieces together.

The best way to place the screws into the plywood is to drill a countersunk pilot hole and then keep the screw 1 inch from the front edge of the panel. To make sure that the dividers are 90 degrees to the front side of the bottom, you will use a framing square. You will repeat this process for all of the dividers you have.

Finishing the base of the bed frame will make you feel that the task is half-way complete. Shutterstock.

Part 1 – Step 6: Finishing Building The Base

To finish making your base, you will use wood glue and screws to secure the top to the case. You will then put the side back to the dividers and the side case top and bottom, but you will only use screws for this step. If you use wood glue, the case will be harder to remove the back so you can access the case from the inside.

The case back will attach to the headboard without a problem, but one end of the case is open. This opening, which is at the foot of the bed, is covered with the end case. Once you have finished completing this first case, you will have no trouble building the second case and end case following the same steps above.

Part 2 is probably one of the easiest parts of the process, which is great because there are only three parts. Shutterstock.

Moving On To Part 2

Part 2 of making the bed frame includes making the mattress and headboard support. Fortunately, the most complicated steps are behind you, and you will find that making the rest of your bed frame is easier than you ever imagined.

Another benefit of part 2 is that it only includes a couple of steps, which is definitely shorter than part 1. You will also see that part 2 is even a little shorter than part 3, but we won’t cross that bridge until we get there. It is always best to take everything one step at the time, well, in this case, one part and one step at the time, so you don’t become overwhelmed.

You will start part 2 like a professional because you already understand how to cut and secure the veneer tape to the edges. Take a moment to bask in your glory! Shutterstock.

Part 2 – Step 1: The Start Of Creating Your Mattress And Headboard Support

In the first step of part 2, you want to start by cutting the headboard panel, rails, and stiles to the size that you need. You will assemble these pieces with your wood glue (you might wonder if you should have bought two bottles by this point, but there is no need to worry as you only need one) and screws.

Just like you did with the dividers in part 1, you will need to use your veneer edging tape to secure the edges of the headboard. However, instead of cutting just one inch extra on each side, you want to cut two inches as this will help you make sure that you have enough for a longer piece of siding. Follow the same steps to secure the veneer siding with the clothing iron and cutting away the excess at the end. Don’t forget about sanding!

Remember, little details might change when it comes to the size of your bed frame. Always read ahead before you start cutting anything because you might not need a piece – or you will need more than one piece! Shutterstock.

Part 2 – Step 2: Finish Securing Your Mattress And Headboard Support

Once the veneer tape is secure, and sanding is completed, cut the side rails and ed rail to the length that you need. Sand these pieces and then cut the slats from the 1 x 4s, side supports from the 2 x 4s and the platform from the ¾ inch thick plywood.

One point to note on this step, you only need to use slats if you are making a bed frame for a full-size mattress or bigger. You will also need two platform pieces for a king size bed as that bed frame will have a larger opening.

It is time to start sighing relief because you are nearly finished and can already tell that your bed frame is turning out great! Shutterstock.

Moving On To The Final Part

I bet this whole process went a bit faster than you anticipated, especially because the first part is rather long and makes people question their abilities a bit more. But, it is not time to start relaxing because you are nearly finished with your project, and you can already tell that your bed frame is one of the best you have ever seen.

Part 3 is a little longer than part 2 but is shorter than part 1, as there are only a few steps that you need to follow to complete your bed frame. Again, remember to always look at the specific measurements you need and to follow any other instructions that are helping you with those measurements. You will also want to remember to read ahead as some bed frames might need one or more extra pieces.

It is a long process, but you will be so pleased with the final result — a DIY bed frame that nobody else will have in their room. Shutterstock.

Part 3 – Step 1: You Are Now Starting To Complete Your Bed

Using the wood stain that you chose, remove the case backs from the cabinet base and stain the headboard, rails, and any other piece that someone can see. You might want to go ahead and stain all the pieces the whole way around as staining can become rather relaxing to many people. Let the stain sit so it can dry.

Once the stain is dry, you want to apply at least three coats of satin polyurethane. You don’t want to apply them all at once, but one at the time. You want each coat to dry, and then you want to take the sanding sponge and sand them along with wiping them clean with a tack cloth before applying the next coat. Once you are done applying the coats, you can reassemble the case backs.

When you connect the side cases and side supports, you want to watch the measurements closely, so everything is centered and laid out well. Shutterstock.

Part 3 – Step 2: Connecting The Finishing Touches

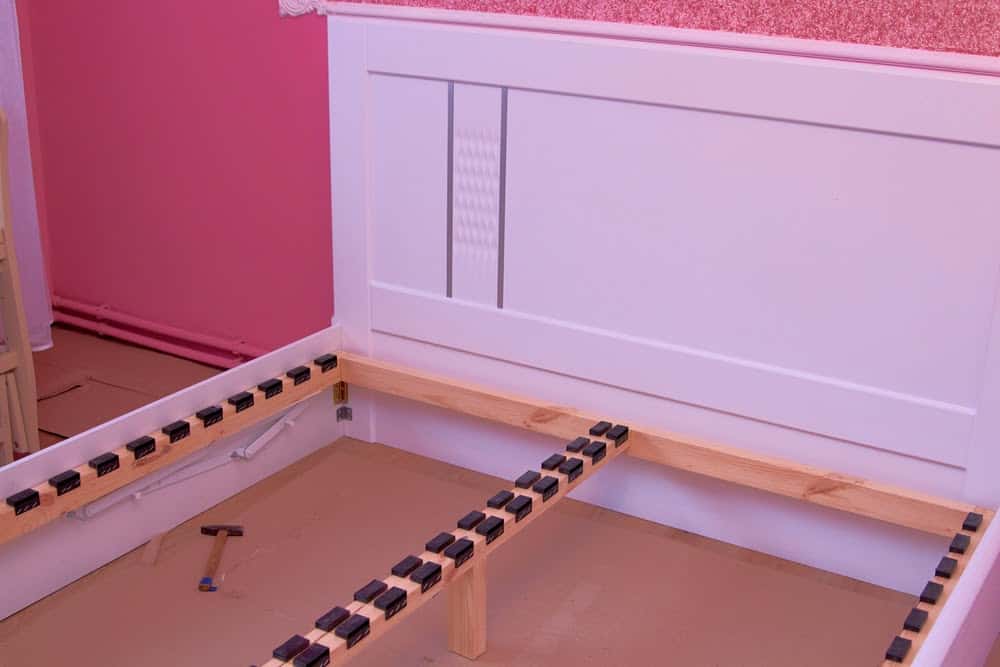
Connect the back of the side cases, and the side supports together. When making this note that the top edge of the 2 x 4s need to be about 1 ½ inch below the top of the cases, but they will also be flushed with each end of the case side backs. Remember that slats are not used for twin-size beds. The side should be ¾ of an inch below the top edge of the case.

Now, you will connect the side rails to the side cases. When you do this, make sure that the rails are flushed to the headboard end of the cases. They will also overhang the side and footboard end of the cases by at least a half of an inch.

This next step is one of the most exciting because you can finally move the bed frame into your bedroom! Shutterstock.

Part 3 – Step 3: Setting Up Your Bed Frame In Your Bedroom

Oh, this is one exciting step! You will finally get to move your bed frame into your bedroom and right where you want it. Don’t worry if you need to take some time to move your bed frame around as you want to find the perfect spot. Once you have the location, you want to position the cases one foot from the wall. Put the headboard into position and leave it at about 1-inch beyond the side cases. The headboard should also be about ½ inch beyond the side rails.

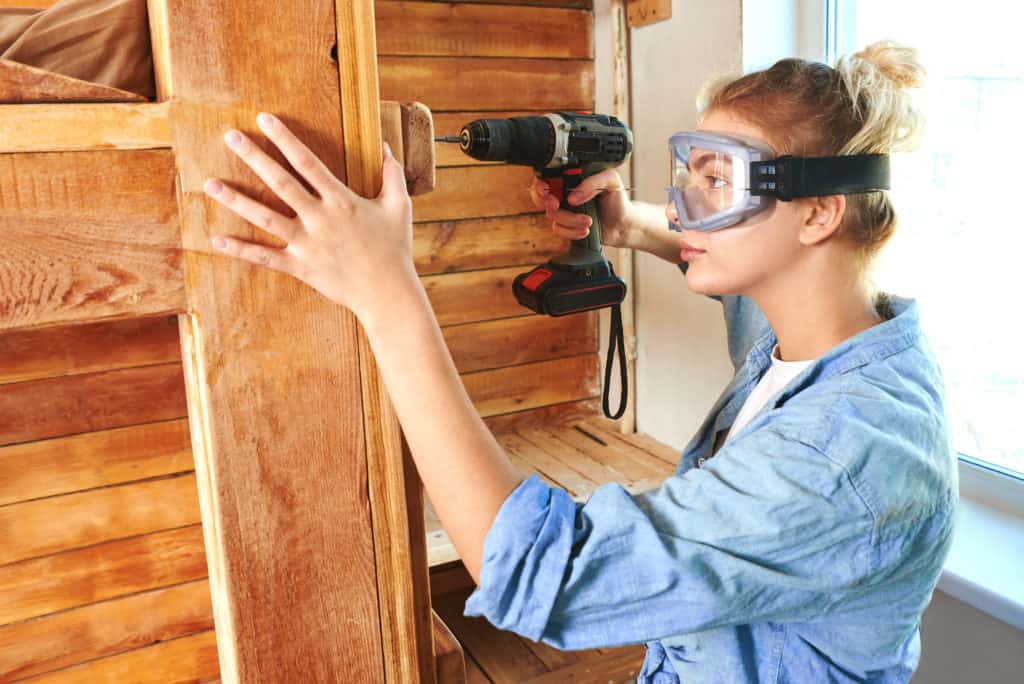
Using your drill, make two ⅜-inch holes through the side case dividers and the headboard for assembly. Using 1/4-20 connector bolts and nuts, connect the headboard and tighten everything using two hex keys. Once the connector bolts are tight, the bed will start to look more square and assembled.

The final step of the process brings you to putting on the finishing touches and bringing your bed together. Shutterstock.

Part 3 – Step 4: Applying The Finishing Touches

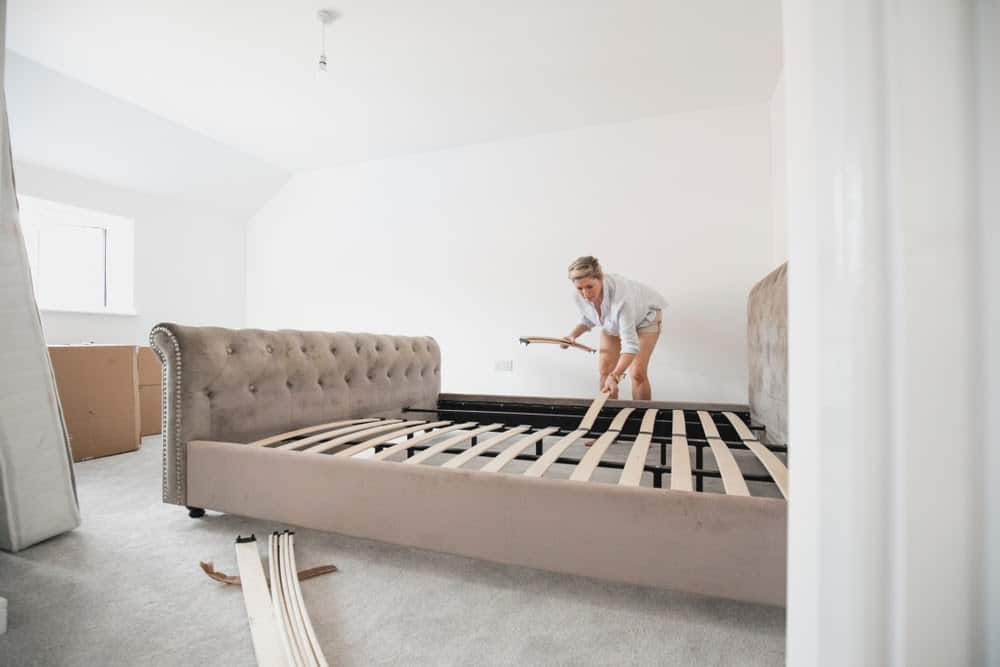
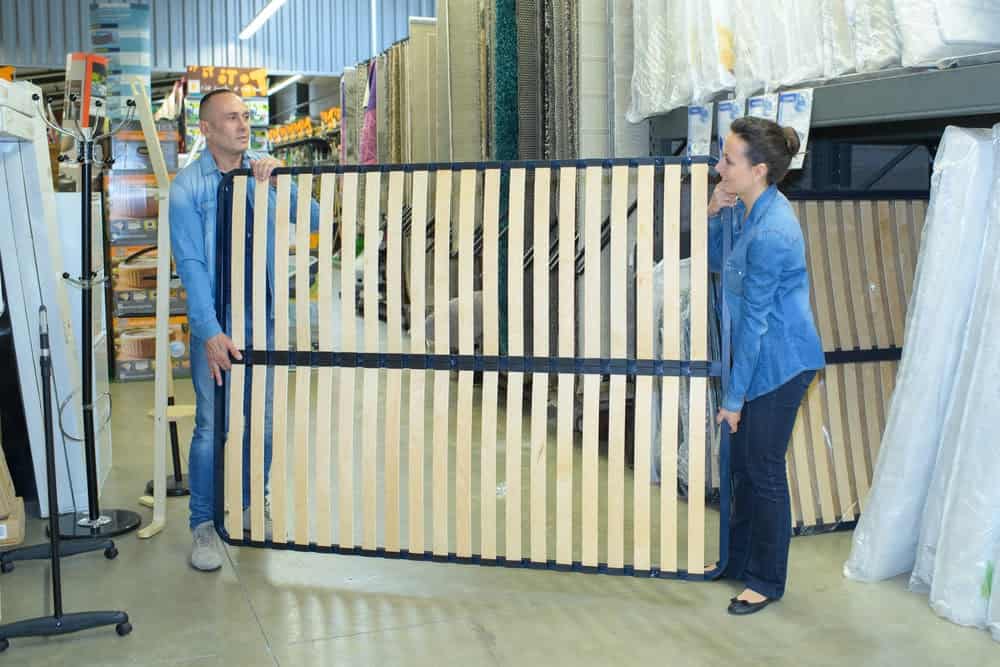
Now, it is time to install the end rails across the bed’s foot between the side rails. When you do this, you want the end rails to overhang at the end of the bed by about ½ inch. Then, you will evenly rest the slats on the side supports. Once all the slats are in place, you will set the platform on top of the slats. Remember, the twin bed frame does not have slats because the side supports are close enough, and it’s not a large hole.

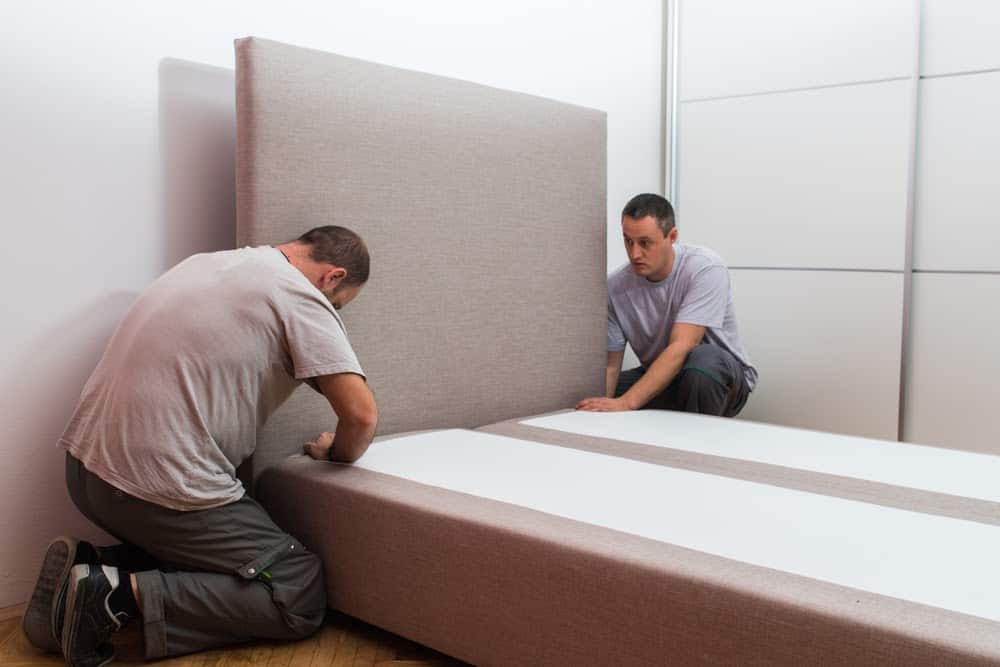
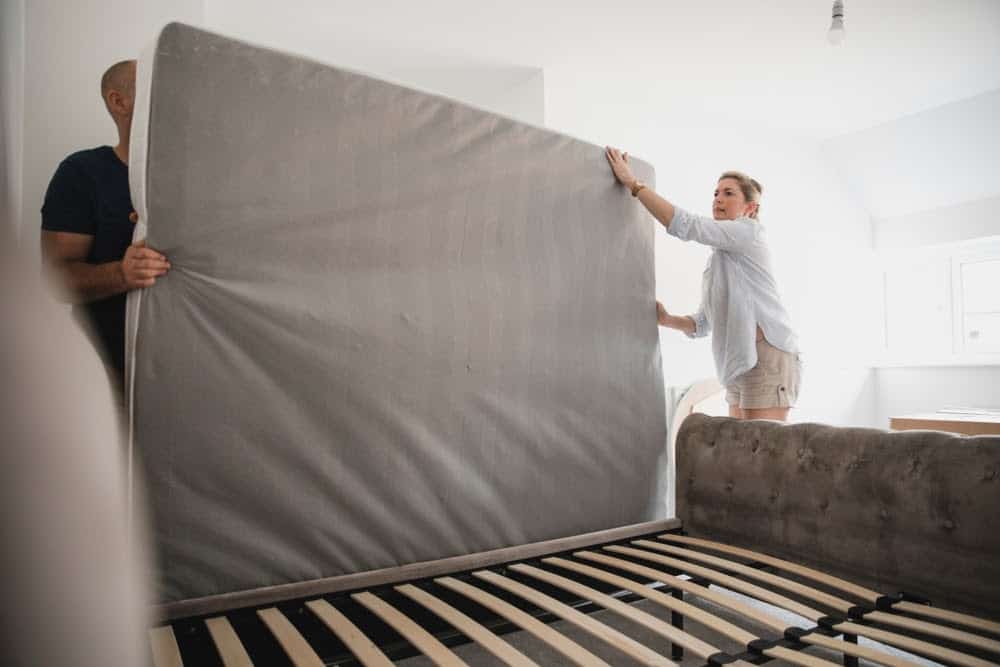
Finally, it is time to slide your bed up against the wall. You can then set up your box spring and mattress and start making your bed!

You worked hard, and now it is time to take a step back and pat yourself on the back for all the work you put into making the bed frame. Shutterstock.

Don’t Forget To Take A Picture And Show Off Your Handy Work

You worked hard to complete the bed frame, and you deserve to take some time and brag about how well it turned out. While everyone can make their own bed frame, not everyone will, so this is an excellent project for you to take a picture, send to your friends, family, or post on social media. However, you might have already done this because it is always fun sharing projects with your friends and family. It is still a fun idea to take pictures throughout the process so you can share the process with other people who are interested in making their own bed frame.

Don’t be worried if you are already thinking of building another bed frame for someone else. Because this project is more straightforward than people think, it is entirely reasonable to get excited and want to start creating a whole new bed frame right after finishing your new one. Who knows, maybe you just found yourself a new job or at least a new hobby!

Sources:

“Your Step-by-Step Guide to Building a Platform Bed Frame.” Elizabeth Gulino, House Beautiful. August 2019.

“How to Build Your Own Bed Frame.” Joseph Truini, Popular Mechanics. February 2019.

“How to Build a Wooden Bed Frame.” The Home Depot.

Advertisement